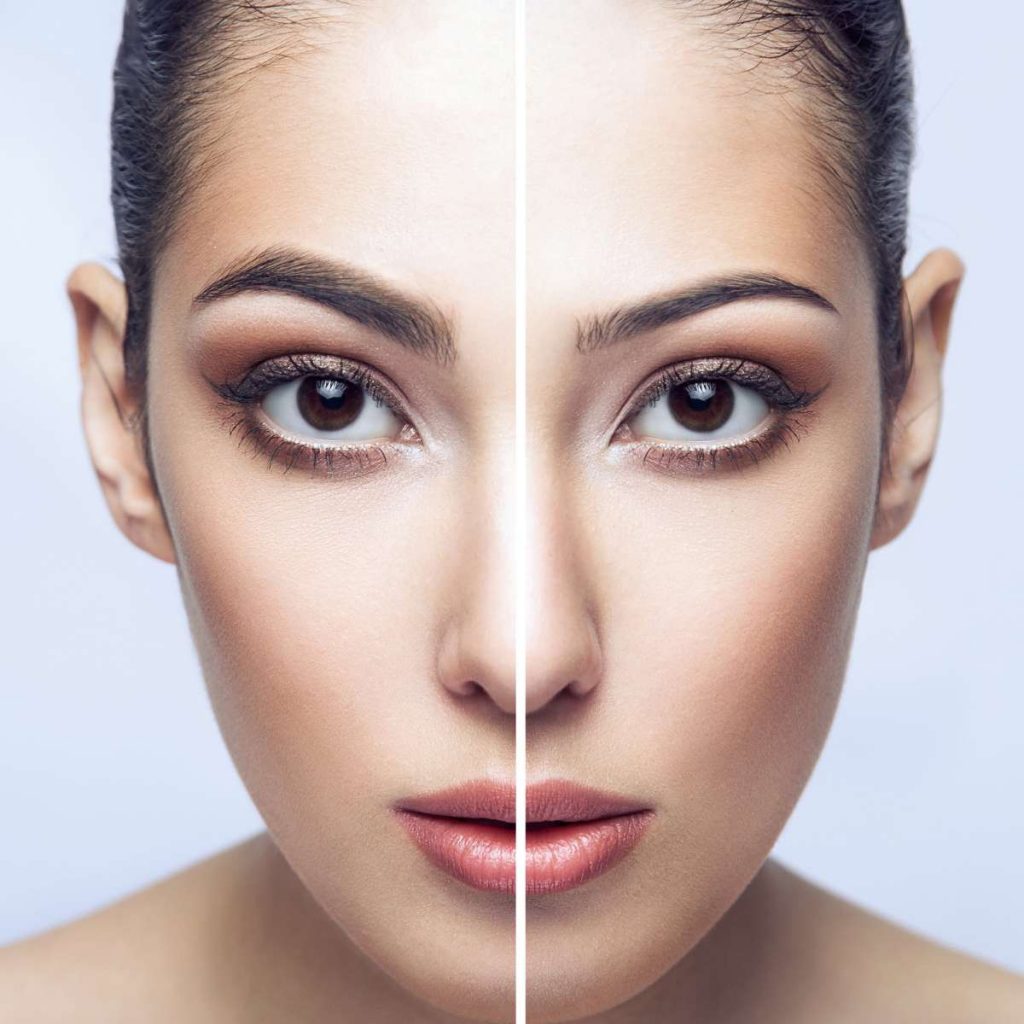
Microblading has become an essential cosmetic procedure for many seeking fuller, natural-looking eyebrows. This semi-permanent makeup technique not only enhances your features but also offers a practical solution for those with sparse brows.
In this comprehensive guide, we will discuss the entire microblading process in detail, outlining each step and providing valuable insights into what to expect.
Let’s get straight to the point
Microblading is a semi-permanent makeup technique that enhances eyebrows by creating natural-looking hair-like strokes. The process begins with an initial consultation to assess your natural brows and set realistic expectations.
Next, the technician measures and outlines your new brows, ensuring symmetry before proceeding. During the procedure, a microblade tool is used to deposit pigment, mimicking your natural brow hairs while minimising discomfort with a numbing cream.
Aftercare is essential for healing; you should keep the area dry and avoid makeup for a week. Results typically last from one to three years, depending on skin type and aftercare, with touch-ups recommended for maintenance. Selecting a qualified technician is essential for achieving the best results.
1. Initial Consultation
Assessing Your Natural Brows
The journey of microblading begins with an initial consultation. This vital step allows the technician to assess your natural eyebrows thoroughly. They will evaluate factors such as:
- Shape: Understanding your brow shape helps in creating a more natural look.
- Thickness: Identifying areas that may need more fullness or definition.
- Growth Patterns: Observing how your natural hairs grow will guide the design process.
Setting Realistic Expectations
During the consultation, it’s essential to discuss your expectations. The technician will explain the potential outcomes and limitations of microblading.
It’s essential to be realistic about the results, as various factors—like skin type and lifestyle—can affect how well the pigment holds. The technician may say, “Microblading is designed to enhance what you already have, not change it entirely.”
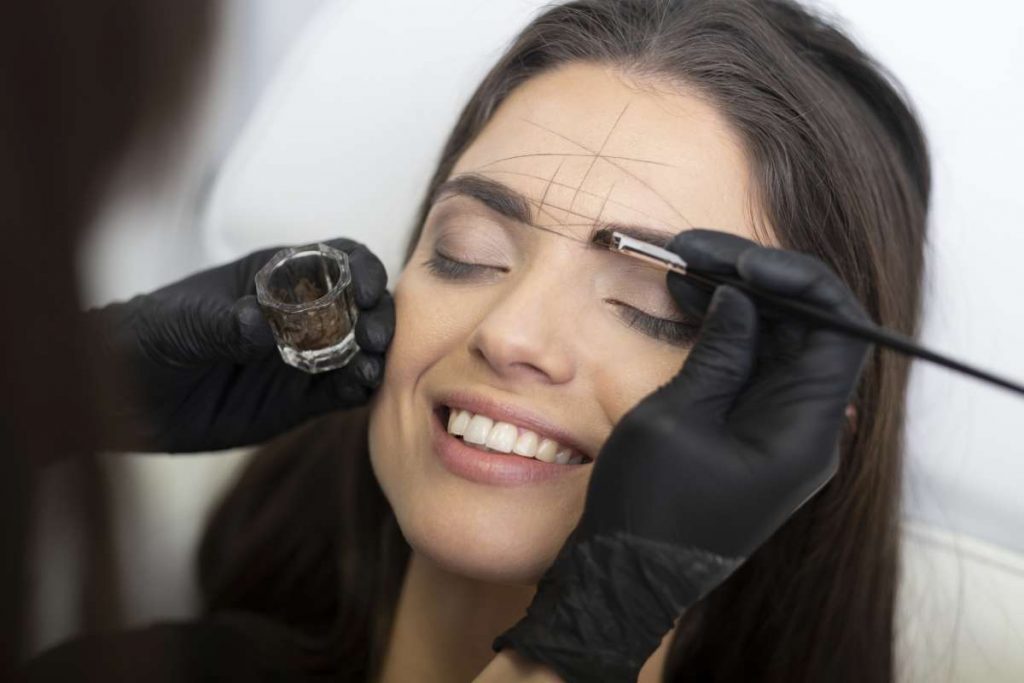
2. Measuring Your New Eyebrows
The Measurement Process
Once you agree to proceed, the next step involves measuring your new eyebrows. This part of the process is essential for achieving symmetry and balance. The technician will:
- Use a ruler or measuring tool to pinpoint key locations.
- Identify the start, arch, and end points of your brows.
- Ensure that both brows are evenly aligned with your facial features.
Discussing The Design
After measurements are taken, the technician will draw an outline of your new brows using a cosmetic pencil. This visual representation is essential for you to see the planned shape and colour.
You’ll have the opportunity to review and adjust the design based on your preferences, ensuring that you are fully satisfied before the procedure begins.
3. Filling In the Design
Applying The Pencil Outline
The next phase is to fill in the outlined design. The technician will use a brow pencil that is slightly darker than your natural hair color. This step helps in:
- Providing a clear guide for the microblading process.
- Ensuring that the technician has a solid reference for the hair strokes.
While the pencil may appear too bold at this stage, it is important to remember that this is a temporary measure. You will discuss the design and make any necessary adjustments before proceeding.
Approving The Design
After the outline is filled in, you will review the design one last time. It’s your chance to make any changes. Communicate your thoughts openly; your satisfaction is the ultimate goal. The technician may ask questions such as, “Does this shape align with your vision for your brows?”
4. The Microblading Procedure
Preparing For Microblading
Once you approve the design, the technician will prepare for the microblading procedure. This preparation involves several steps:
- Cleansing: The brow area will be thoroughly cleaned to remove any makeup, oils, or dirt.
- Numbing Cream: A topical numbing cream will be applied to reduce discomfort during the procedure. This is an essential step to ensure a more pleasant experience.
The Microblading Technique
The actual microblading process is intricate and requires skill. The technician will use a microblade tool to create hair-like strokes in the skin. Key components of this step include:
- Creating Strokes: The technician will make fine, precise cuts to mimic natural hair. This technique involves a steady hand and a keen eye.
- Depositing Pigment: A specially formulated pigment, designed to blend with your natural brow colour, is applied. This pigment is different from traditional tattoo ink; it is semi-permanent and fades over time.
- Attention to Detail: The technician will take their time to ensure that each stroke is perfectly aligned with your natural brow growth pattern. This careful attention to detail is essential for achieving a natural look.
Managing Discomfort
It is natural to feel some discomfort during the procedure, despite the numbing cream. You might experience sensations similar to light scratching or tingling. The technician will check in with you throughout the process, ensuring you remain comfortable. Some people describe the experience as bearable, especially when compared to other beauty treatments.
5. The Healing Procedure
Initial Healing Period
After the microblading session, proper care is essential for optimal healing. Your eyebrows will need time to recover, and you should follow specific aftercare guidelines:
- Avoid Wetting the Brows: For at least seven days, you must keep the area dry. This means no washing the brows with water or exposing them to steam.
- Skip Makeup: Avoid applying makeup to the brow area during the initial healing period to prevent irritation and infection.
Aftercare Instructions
The technician will provide detailed aftercare instructions to ensure your brows heal correctly. These guidelines may include:
- Applying Healing Ointment: A thin layer of a recommended ointment should be applied to protect the brows during the healing process.
- Sun Protection: Protect your brows from direct sun exposure, as UV rays can cause the pigment to fade.
- Avoiding Sweat: Activities that cause excessive sweating, such as intense workouts or sauna sessions, should be avoided for at least two weeks.
What To Expect During Healing
During the healing phase, your brows may go through various changes, such as:
- Flaking: As your skin heals, you may notice some flaking. This is normal and part of the process.
- Darkening: Initially, the pigment may appear darker than expected. However, this will settle to a more natural tone as healing progresses.
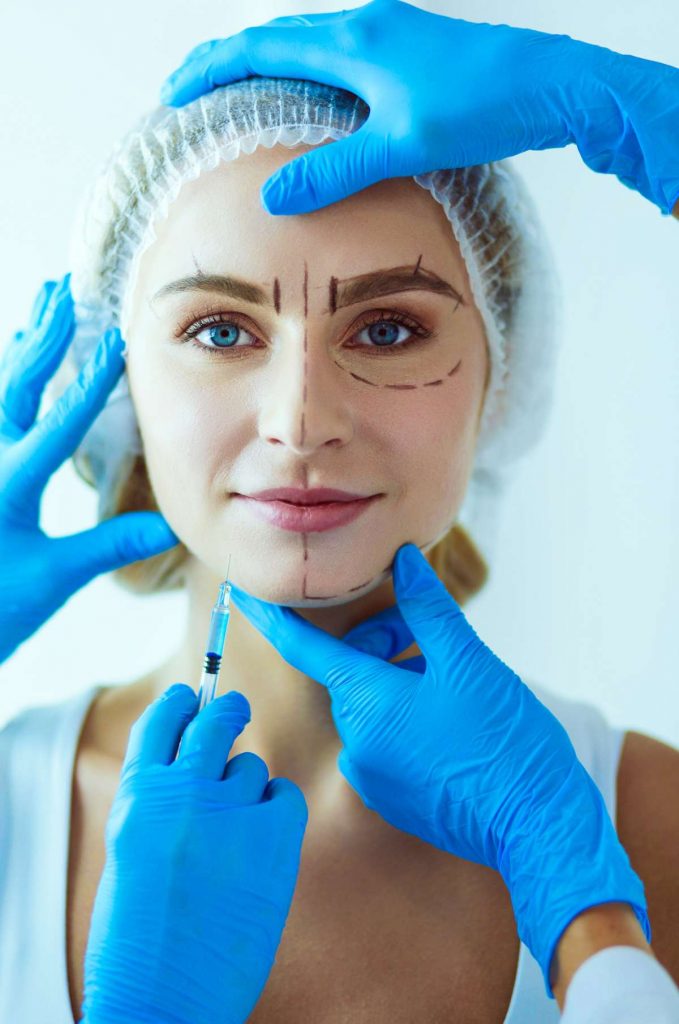
6. Health Risks And Considerations
Understanding Potential Risks
While microblading is generally safe, there are potential risks involved. Some common issues include:
- Infection: If proper aftercare is not followed, there is a risk of infection. It’s essential to keep the area clean and dry.
- Allergic Reactions: Some individuals may experience allergic reactions to the pigments used. Discuss any allergies with your technician beforehand.
- Unsatisfactory Results: If performed by an inexperienced technician, the results may not meet your expectations.
Choosing A Qualified Technician
Selecting a reputable microblading artist is vital to minimise risks. Here are some tips for making an informed choice:
- Check Qualifications: Look for certified professionals with extensive training in microblading.
- Read Reviews: Research online for reviews and testimonials from previous clients. Positive feedback is a good indicator of quality.
- View Portfolio: Request to see before-and-after photos of their previous work to gauge their skill level.
7. Longevity Of Microblading Results
How Long Do Results Last?
The effects of microblading can last anywhere from one to three years. The longevity of the results largely depends on several factors, including:
- Skin Type: Oily skin may cause the pigment to fade faster than dry skin.
- Aftercare Practices: Following the aftercare instructions closely will help extend the life of your brows.
- Sun Exposure: Prolonged exposure to sunlight can lead to faster fading, so protecting your brows is essential.
Scheduling Touch-Ups
To maintain the appearance of your brows, scheduling touch-ups is recommended. The frequency of these appointments may vary, but generally:
- After the initial procedure, a touch-up is often recommended around 6 to 8 weeks later to ensure optimal results.
- Following the touch-up, clients may choose to come in for maintenance every 6 to 12 months to refresh the colour and shape.
Conclusion
Microblading is an effective and transformative procedure for achieving beautifully defined brows that enhance your natural beauty. By understanding each step of the process—from the initial consultation to the aftercare—you can ensure a satisfying experience and optimal results.
Choose a qualified technician and follow aftercare guidelines diligently to maintain your stunning new brows. With proper care, your microblading results can last for years, making it a worthwhile investment in your beauty routine.
FAQs About Microblading Procedure
How Is Microblading Performed?
With microblading, the technician uses extremely small blades to make tiny, hair-like incisions right above the dermis layer of your skin while depositing pigment directly into those incisions. As a result, your brows will naturally fade over time and require touch-ups.
Do They Shave Your Eyebrows When Microblading?
Do I have to shave my eyebrows off? Not at all. We map out the shape based on facial structure, current brows, and symmetry of the client’s face. Any unwanted hairs that are not desired in the new brow look will be removed.
Do Microbladed Eyebrows Look Fake?
It sounds scarier than it actually is, and if done correctly, it will look completely natural. Aava says people are always amazed at just how natural it looks. “You can barely tell, even up close, what is a natural hair and what is one of the strokes.”
What Does Microblading Look Like After 5 Years?
Your brow shape is fine and pigments didn’t migrate out of the initial outline, but the color of microblading after 5 years has turned either reddish/orangey or gray/bluish. If your brows are not too saturated, this can be fixed with a microblading color correction.
How Do You Not Look Crazy After Microblading?
Skin care after microblading
- Avoid getting the area wet for at least 7 days. …
- Don’t wear makeup for at least a week. …
- Don’t pick at scabs, tug, or itch the eyebrow area.
- Avoid saunas, swimming, and excessive sweating until the area is completely healed and you have a follow-up appointment.
