
As you contemplate enhancing your eyebrows with this sought-after semi-permanent makeup technique, a crucial question arises: "How many sessions are necessary for an ombre brows tattoo?" This blog post is designed to demystify the process, providing a clear roadmap of what to expect from your initial consultation to the final touch-up. We'll explore the step-by-step procedure, the importance of follow-up sessions, and the factors influencing the number of sessions you need. Whether you're a seasoned enthusiast of semi-permanent makeup or a newcomer eager to transform your brows, this article will give you the knowledge needed to embark on your ombre brows journey with confidence. Let's dive into the world of ombre brows tattooing and uncover the path to achieving your dream eyebrows.
The Ombre Brows Tattoo Process
The Ombre Brows Tattoo Process is a detailed and meticulous procedure that transforms your eyebrows into fuller, more defined, and beautifully shaded arches using semi-permanent makeup techniques. Inspired by the ombre hair trend, this process creates a soft, shaded look that starts lighter at the beginning of the brow and gradually darkens towards the tail. Here's a consolidated overview based on the information from the provided sources:
Initial Steps And Consultation
Consultation: The process begins with a consultation to assess your eligibility for the treatment, discuss your desired outcome, and determine the best pigment colour based on your skin tone and preferences.
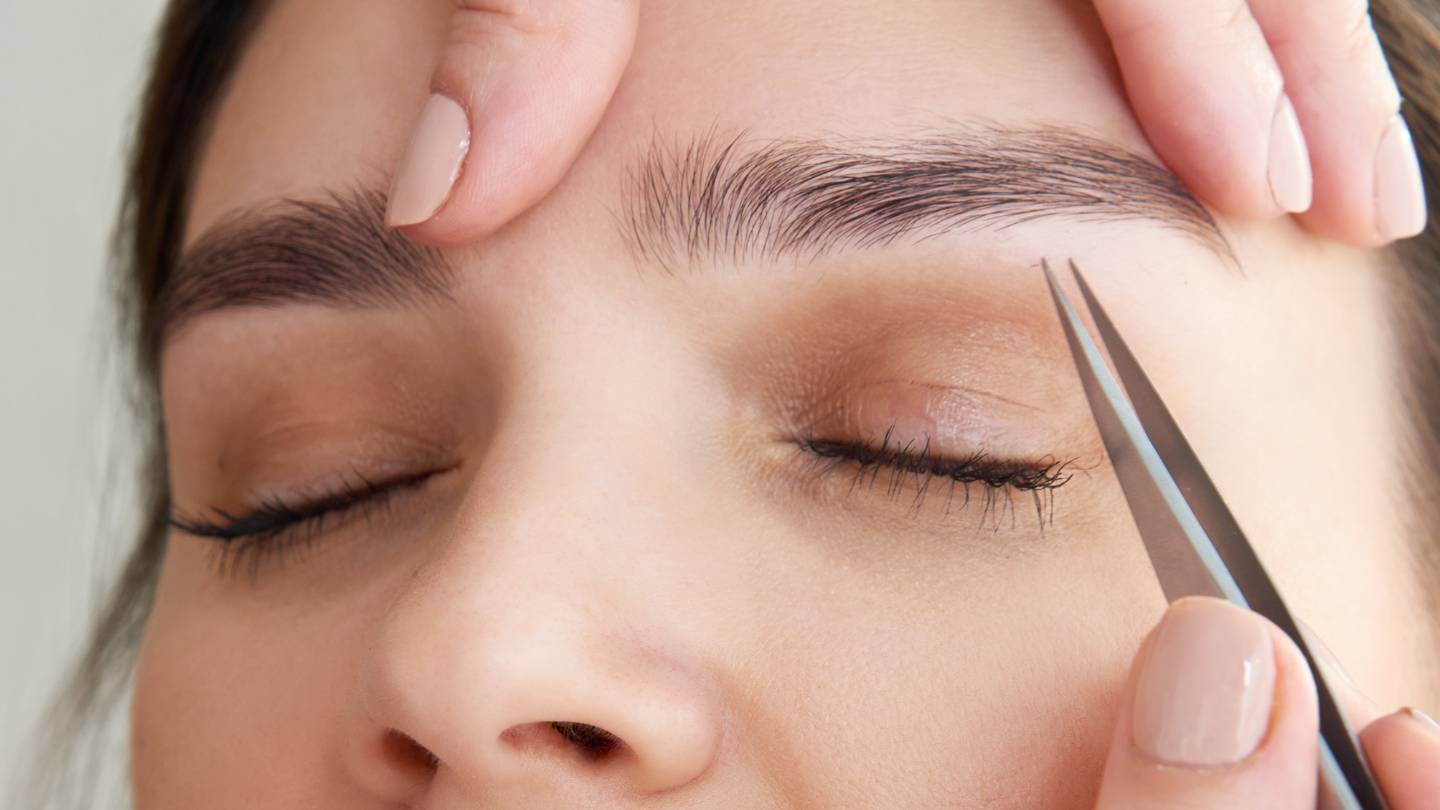
Eyebrow Mapping and Pre-drawing: Before tattooing begins, the technician will map out your eyebrows to decide the shape and size. This step is crucial for ensuring the final result aligns with your expectations.
The Tattooing Process
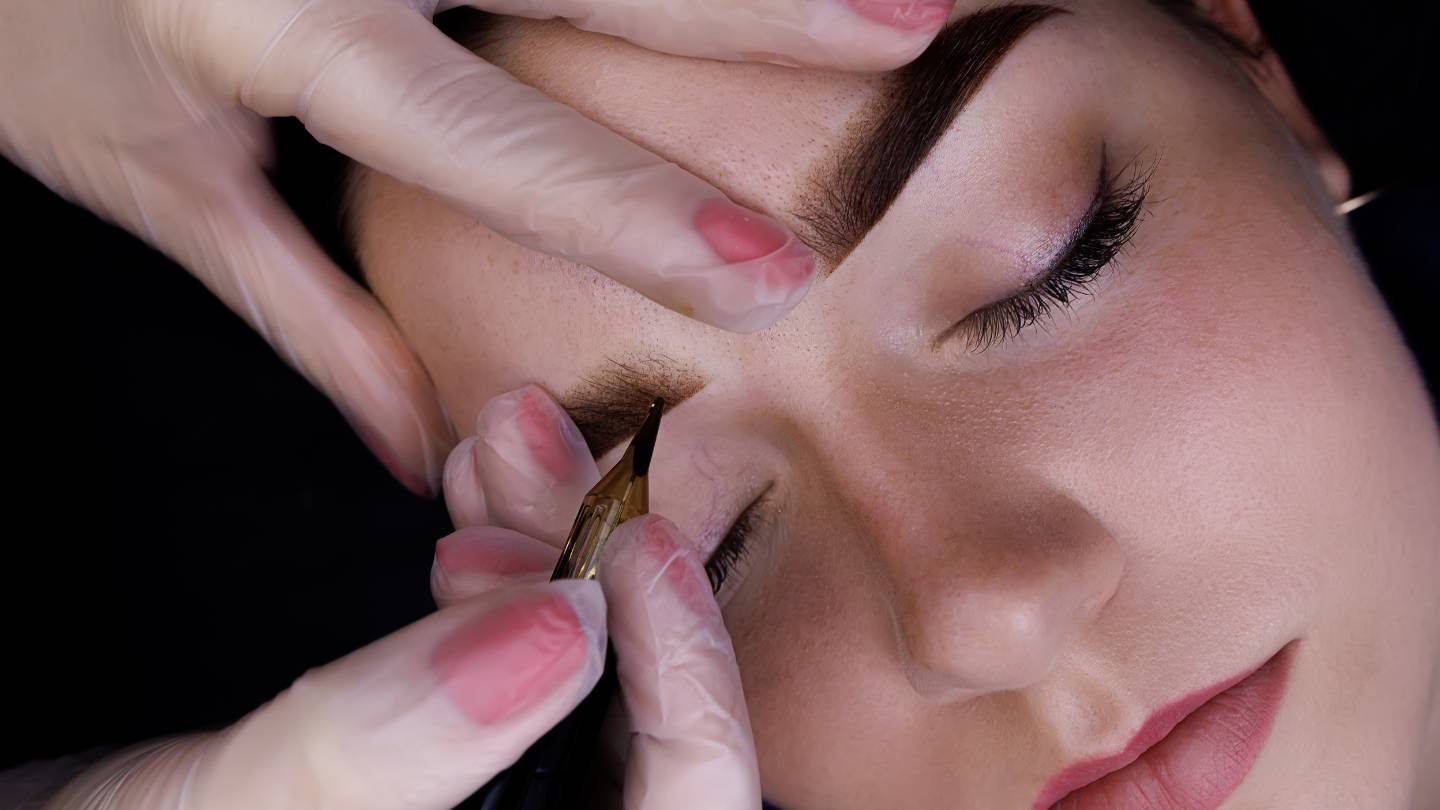
Application Technique: Ombre brows are created using a machine that inserts pigment into the skin through a dotting technique known as pixelisation. This method is less invasive and painful than traditional tattooing or microblading, making it suitable for a wide range of skin types.
Numbing: A topical numbing agent minimises discomfort, making the procedure relatively pain-free for most clients.
Healing And Aftercare
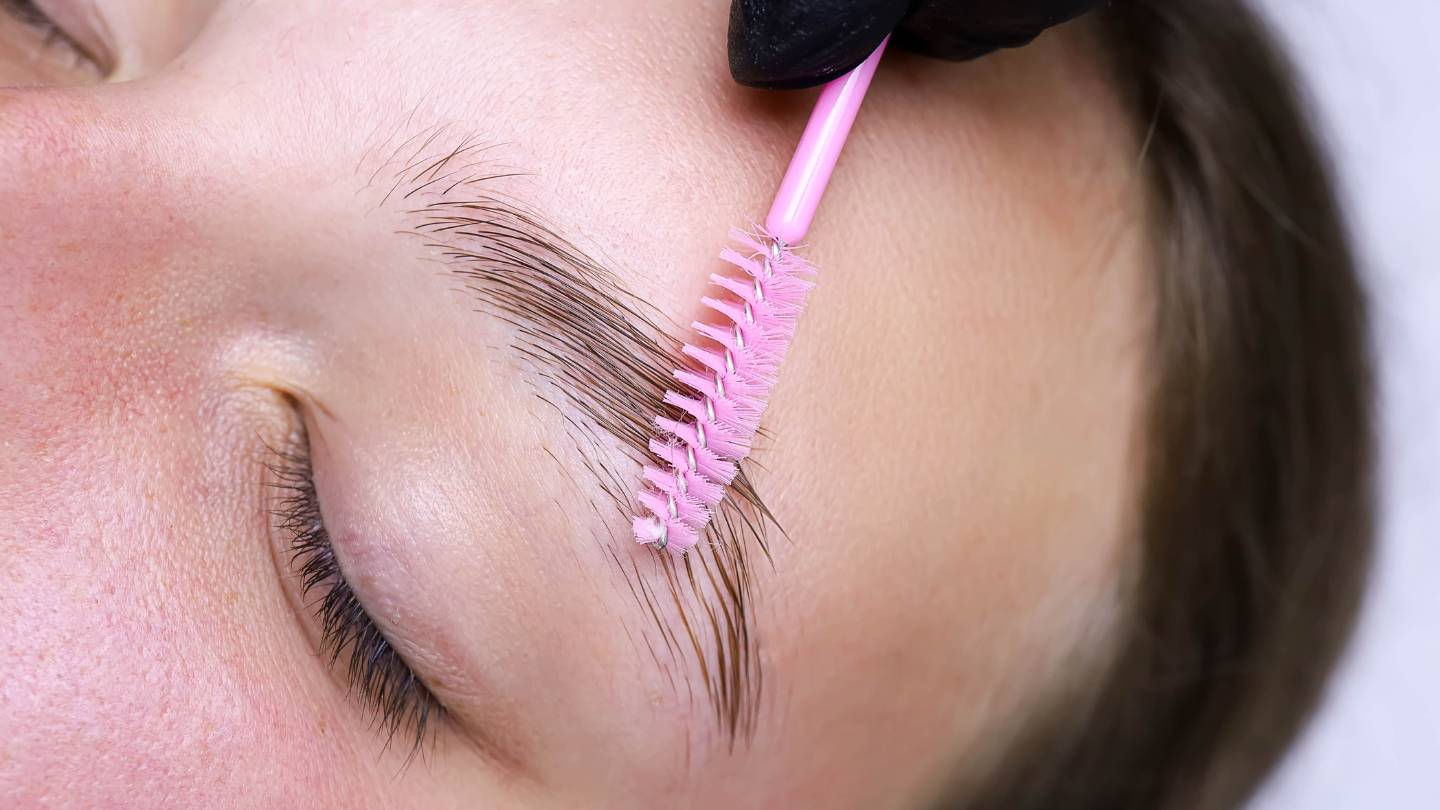
Immediate Aftercare: The eyebrows may appear darker immediately after the procedure, but they will fade to a softer colour as they heal. Proper aftercare is crucial to achieve the best results and includes:
- Keeping the area clean and dry.
- Avoiding makeup.
- Applying a prescribed ointment to support healing.
Healing Process: The healing process typically takes about 4-6 weeks, during which the skin may scab and peel. It's important not to pick at the scabs to avoid affecting the pigment.
Touch-Up Session
Importance of Touch-Up: A touch-up session, usually scheduled 6-8 weeks after the initial appointment, is essential for refining the brows, filling in gaps, and adjusting the colour if necessary. This session ensures the longevity and beauty of your ombre brows.
Longevity And Maintenance
Duration: Ombre brows can last between 1 to 3 years, depending on factors like skin type, lifestyle, and adherence to aftercare instructions. Periodic touch-ups are recommended to maintain the desired look.
The Importance Of The Touch-Up Session
Touch-up sessions are a critical component of the semi-permanent makeup process, including treatments like ombre brows, microblading, and tattooing. These sessions are vital in ensuring that the initial cosmetic work meets and maintains the desired aesthetic over time. Here's a comprehensive look at why touch-up sessions are indispensable, drawing insights from various expert sources.
Ensuring Optimal Results
Due to skin type, healing speed, and lifestyle, post-initial treatment healing can lead to uneven colour distribution and patchiness. A touch-up session, typically scheduled 4-8 weeks after the initial procedure, allows for correcting these irregularities. It's an opportunity to add more pigment where needed, adjust the shape or colour to better suit the client's preferences, and address areas where the pigment may need to be adequately settled.
Longevity Of The Treatment
Touch-up sessions significantly extend the life of semi-permanent makeup. Over time, factors such as sun exposure, skincare routines, and natural skin regeneration can cause the pigment to fade. Regular touch-ups help maintain the vibrancy and definition of the treatment, ensuring that the semi-permanent makeup remains as close to the original result as possible.
Customisation And Adjustment
As individuals age, their facial features and skin tone can change, affecting the appearance of semi-permanent makeup. Touch-up sessions provide an opportunity to make adjustments that align with these changes, ensuring that the makeup continues to complement its natural features over time. Additionally, client preferences may evolve, and touch-ups allow the makeup to be customised to match these new aesthetic goals.
The Process And Duration
A touch-up session is generally shorter than the initial appointment, lasting anywhere from 30 minutes to 2 hours, depending on the extent of the adjustments needed. The procedure involves a consultation to discuss any concerns or desired changes, followed by the actual touch-up work, which may include adding pigment, reshaping, or enhancing colour.
Frequency And Maintenance
The frequency of touch-up sessions varies based on individual factors such as skin type, lifestyle, and the specific treatment received. While some may require touch-ups every six months, others may only need them every 1-2 years. Following the aftercare instructions provided by the technician is crucial for maximising the longevity of the treatment and reducing the need for frequent touch-ups.
FAQs About Ombre Brows Tattoos
Most clients require two sessions: the initial application and a touch-up session. The touch-up is usually scheduled 4-8 weeks after the first session to refine the brows and add any necessary pigment.
A touch-up session is crucial because it allows the technician to fill in areas where the pigment may not have been evenly applied or adjust the colour and shape if necessary. This ensures the longevity and beauty of your ombre brows.
Yes, sessions can vary depending on several factors, including skin type, lifestyle, aftercare adherence, and individual healing processes. Some clients may require additional touch-ups.
Ombre brows typically last between 1 to 3 years. Skin type, sun exposure, skincare routines, and lifestyle habits can influence longevity.
Factors that can affect the longevity include:
- Skin type (oily skin may fade faster).
- Sun exposure.
- Skincare products (especially those that accelerate exfoliation).
- Lifestyle habits that may cause premature fading.
Factors Influencing The Number Of Sessions Required
When considering an ombre brows tattoo, it's essential to understand that the number of sessions required can vary significantly from person to person. This variability is due to a combination of factors that can influence both the initial outcome and the longevity of the pigmentation. Drawing insights from various expert sources, here are the key factors that determine how many sessions you might need for your ombre brows tattoo.
Skin Type And Condition
Oily Skin: Individuals with oily skin may find their pigment fades quicker than those with dry or normal skin types. Oily skin can cause the pigment to spread and fade, potentially requiring more frequent touch-ups.
Mature Skin: As skin ages, it loses collagen and elasticity, affecting its ability to retain pigment. Mature skin requires a gentler approach and more sessions to achieve the desired saturation.
Skin Color: Lighter skin tones may retain pigment differently than darker skin tones, influencing the number of sessions needed for optimal results.
Lifestyle And Aftercare
Sun Exposure: Prolonged exposure to the sun without adequate protection can significantly fade tattooed brows, necessitating more frequent touch-ups.
Skincare Routine: Exfoliating acids, retinol, and other skincare products that accelerate skin cell turnover can fade the pigment faster.
Activities: High levels of physical activity and sweating can also affect the longevity of the brow tattoo.
Initial Healing Process
Healing Efficiency: How an individual's skin heals after the procedure can impact the need for additional sessions. Some may experience faster fading or uneven healing, requiring further touch-ups.
Aftercare Compliance: It is crucial to follow the aftercare instructions meticulously for the pigment to settle correctly. Non-compliance can lead to less-than-optimal healing and the need for more sessions.
Pigment And Technique Used
Pigment Quality: High-quality pigments adequately chosen for the individual's skin tone and type can lead to longer-lasting results, potentially reducing the need for frequent touch-ups.
Application Technique: The artist's skill and technique play a significant role in how well the pigment takes to the skin and how many sessions are required for completion.
Individual Preferences
Desired Outcome: Clients seeking a more dramatic look may require additional sessions to build up their desired colour and density.
Adjustments and Refinements: Personal preferences regarding shape, colour, and intensity may lead to additional sessions for adjustments.
Additional Touch-Ups And Long-Term Maintenance
Ombre brows tattoo, a semi-permanent makeup technique, has become increasingly popular for its ability to create fuller, more defined eyebrows with a gradient effect. While the initial procedure can transform your brows, understanding the importance of additional touch-ups and long-term maintenance is crucial for preserving the beauty and longevity of your ombre brows.
Importance Of Touch-Ups
- Colour Refreshment: After the initial procedure, the colour of the ombre brows can fade up to 50%. A touch-up session, usually recommended 4-6 weeks post-procedure, ensures the colour is refreshed and any areas that may have faded during the healing process are corrected. This step is essential for achieving the complete, vibrant colour and definition that ombre brows are known for.
- Healing Variabilities: Individual healing processes can lead to patchy or uneven areas. Touch-ups allow the technician to fill in these spots, ensuring a uniform appearance across the brow.
- Customisation: Touch-up sessions allow you to make minor adjustments to the brows' shape, colour, or density. Whether you desire a bolder look or need to adjust the shape slightly, this session allows you to customise to achieve your preferred outcome.
Long-Term Maintenance
- Annual Touch-Ups: Even with excellent initial results, the pigment in ombre brows will gradually fade due to sun exposure, skin type, and lifestyle. Annual touch-ups are recommended to refresh the colour and maintain the desired look. These sessions are also an opportunity to reevaluate the design and make any changes to suit evolving tastes or trends.
- Skin Care: Proper skincare can extend the life of your ombre brows. Avoiding direct sun exposure and using SPF on the brow area can prevent premature fading. Additionally, avoiding exfoliating treatments and products near the brows can help maintain pigment intensity.
- Lifestyle Considerations: Activities that induce excessive sweating, such as swimming, and exposure to chlorine or saltwater, can affect the longevity of your ombre brows. Being mindful of these factors and taking appropriate precautions can help preserve your results.
- Following Aftercare Instructions: Adhering to the aftercare instructions provided by your technician is crucial for the healing process and pigment retention. Proper aftercare supports the immediate healing and the long-term appearance of your brows.
Conclusion
The Ombre Brows Tattoo Process is a detailed and meticulous procedure that transforms eyebrows into fuller, more defined, and beautifully shaded arches using semi-permanent makeup techniques. The process begins with a consultation to assess eligibility, discuss the desired outcomes, and determine the best pigment colour based on skin tone and preferences. Eyebrow mapping and pre-drawing are crucial steps in the process, followed by the application technique using a machine called pixelisation. A topical numbing agent is applied to minimise discomfort.
Aftercare is essential for the ombre brows, which may appear darker immediately but fade to a softer colour as they heal. Proper aftercare includes:
- We are keeping the area clean and dry.
- I am avoiding makeup.
- I am applying a prescribed ointment to support healing.
The healing process typically takes about 4-6 weeks, during which the skin may scab and peel.
A touch-up session is essential for refining the brows, filling in gaps, and adjusting the colour if necessary. Ombre brows can last between 1 and 3 years, depending on factors like skin type, lifestyle, and adherence to aftercare instructions. Touch-up sessions ensure optimal results, extend the treatment's lifespan, and allow customisation and adjustment. The touch-up session typically lasts between 30 minutes to 2 hours, depending on the extent of adjustments needed.
The frequency of touch-up sessions for ombre brow tattoos varies based on skin type, lifestyle, and treatment. Factors influencing the number of sessions include skin type and condition, lifestyle, sun exposure, skincare routine, and activities. The initial healing process, healing efficiency, and aftercare compliance are also necessary. High-quality pigments, artist's skill, and individual preferences can influence the number of touch-ups needed.
Additional touch-ups are essential for colour refreshment, healing variability, and customisation. After the initial procedure, the colour can fade up to 50%, and touch-ups are recommended 4-6 weeks post-procedure to correct any faded areas. Touch-ups also allow for minor adjustments to the brows's shape, colour, or density.
Long-term maintenance is recommended for annual touch-ups to refresh the colour and maintain the desired look. Proper skincare, such as avoiding direct sun exposure and using SPF, can extend the life of the ombre brows. Lifestyle considerations, such as excessive sweating, swimming, and exposure to chlorine or saltwater, can affect the longevity of the brows. Adhering to aftercare instructions is crucial for the healing process and pigment retention. Overall, understanding the importance of touch-ups and long-term maintenance is essential for preserving the beauty and longevity of ombre brows.
Content Summary
- Ombre brows tattoo is a sought-after semi-permanent makeup technique enhancing eyebrows.
- The process involves an initial consultation, a tattooing session, and crucial follow-up touch-ups.
- It's designed to create fuller, more defined, and beautifully shaded eyebrows.
- The technique uses a dotting method called pixelisation, suitable for various skin types.
- A topical numbing agent is applied to minimise discomfort during the procedure.
- Aftercare is essential for achieving the best results, including keeping the area clean and dry.
- The healing process typically takes about 4-6 weeks, with the skin possibly scabbing and peeling.
- A touch-up session is usually scheduled 6-8 weeks after the initial appointment.
- Depending on several factors, Ombre brows can last between 1 to 3 years.
- Touch-up sessions play a vital role in maintaining the desired aesthetic of semi-permanent makeup.
- They allow for the correction of uneven colour distribution and patchiness.
- Regular touch-ups help maintain the vibrancy and definition of the treatment.
- Touch-up sessions provide an opportunity for customisation and adjustment.
- The duration of a touch-up session can vary, generally shorter than the initial appointment.
- The frequency of touch-up sessions varies based on individual factors.
- The number of sessions required for an ombre brows tattoo can vary significantly from person to person.
- Factors influencing the number of sessions include skin type, lifestyle, and aftercare.
- Oily skin may require more frequent touch-ups due to faster pigment fading.
- Mature skin may need a gentler approach and more sessions.
- Sun exposure without protection can significantly fade tattooed brows.
- The initial healing process can impact the need for additional sessions.
- High-quality pigments and skilled application techniques can lead to longer-lasting results.
- Clients seeking a more dramatic look may require additional sessions.
- Understanding the importance of additional touch-ups and long-term maintenance is crucial.
- Annual touch-ups are recommended to refresh the colour and maintain the desired look.
- Proper skin care can extend the life of ombre brows, including avoiding direct sun exposure.
- Activities inducing excessive sweating can affect the longevity of the brows.
- Adhering to aftercare instructions is crucial for the healing process and pigment retention.
- The ombre brows tattoo process begins with a detailed consultation.
- Eyebrow mapping and pre-drawing ensure the final result aligns with expectations.
- The application technique is less invasive and painful compared to traditional tattooing.
- Immediate aftercare includes avoiding makeup and applying prescribed ointment.
- The importance of the touch-up session must be for refining the brows to be balanced.
- Ensuring optimal results involves addressing any irregularities post-initial treatment.
- Customisation during touch-up sessions allows for changes based on client preferences.
- Skin type and condition significantly influence the number of sessions required.
- Lifestyle choices and aftercare practices play a role in the tattoo's longevity.
- The initial healing process varies among individuals, affecting the outcome.
- Pigment quality and application technique are critical for achieving desired results.
- Individual preferences regarding the outcome can lead to additional sessions for adjustments.
- Long-term maintenance involves annual touch-ups and proper skincare.
- Lifestyle considerations like swimming and sweating can impact the brows' longevity.
- Following aftercare instructions supports both immediate healing and long-term appearance.
- The ombre brows tattoo process transforms eyebrows into fuller, more defined arches.
- The gradient effect created by the technique offers a soft, shaded look.
- The healing process is crucial for the pigment to settle properly in the skin.
- Touch-up sessions are essential for maintaining the beauty and longevity of ombre brows.
- Skin type, healing speed, and lifestyle influence the need for touch-ups.
- The process and duration of touch-up sessions vary, focusing on customisation and adjustment.
- Understanding the factors influencing the number of sessions required helps set realistic expectations for ombre brows tattoos.