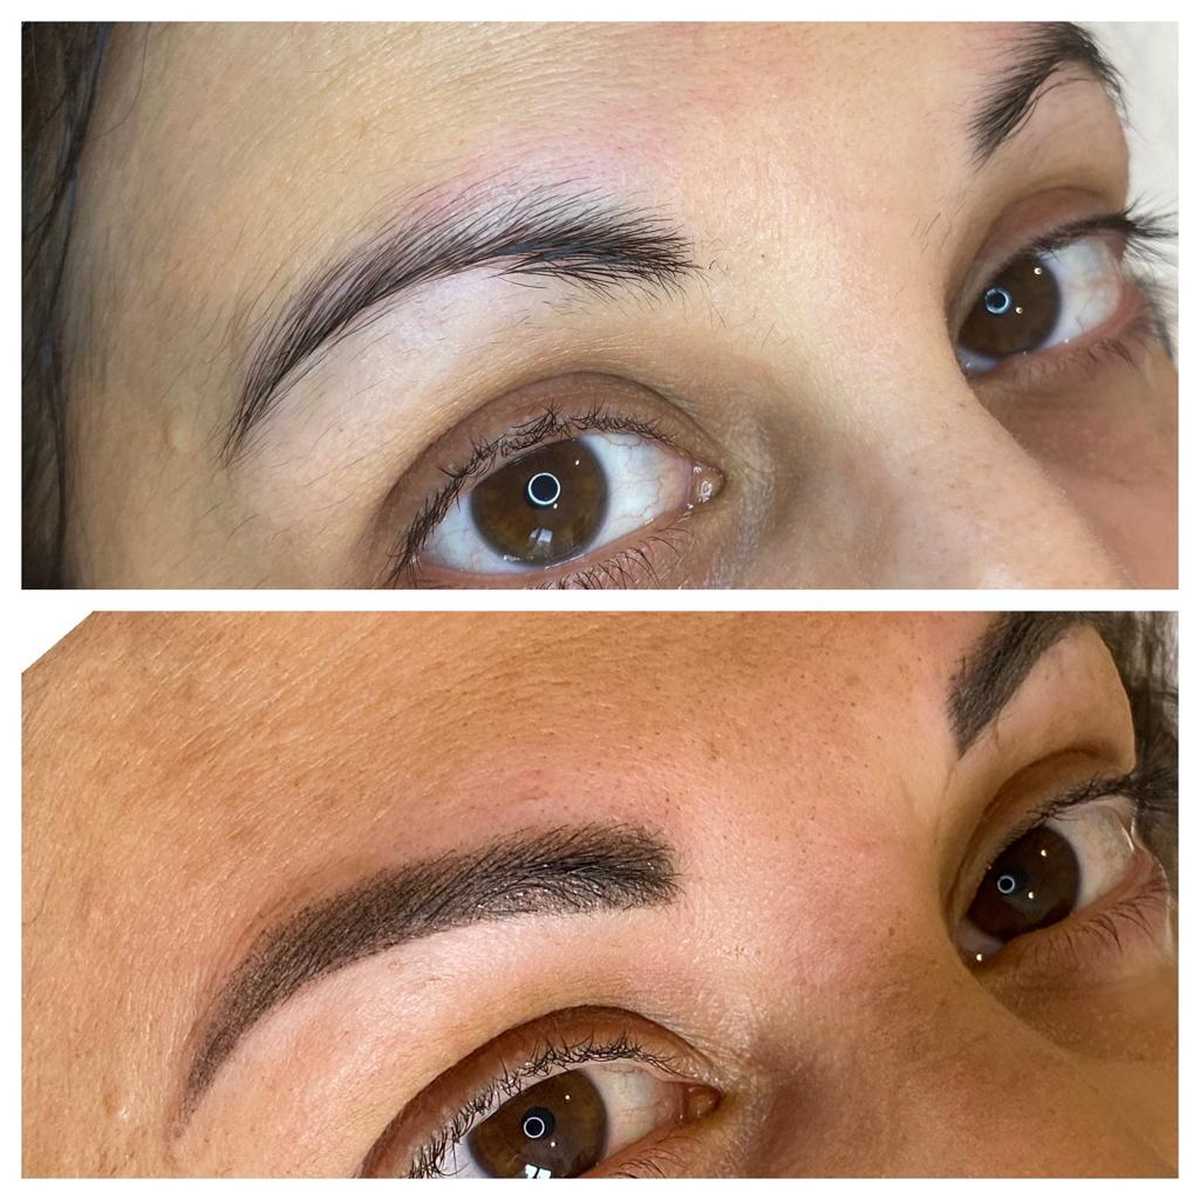
Eyebrow shaping is an essential step in grooming, helping to define and balance your facial features. Properly shaped eyebrows can frame your face, enhance your eyes, and provide symmetry.
This guide will take you through various techniques and tips for shaping your eyebrows, regardless of your face shape.
Let’s get straight to the point
Eyebrow shaping is key to enhancing facial features, providing symmetry and balance. It’s important to consider your face shape when shaping eyebrows, with different approaches for oval, round, square, and long faces.
Use tools like tweezers, scissors, and eyebrow brushes to maintain brow shape. Plucking and filling with pencils, powders, or gels can enhance the look, while techniques like trimming and using natural oils can help achieve fuller brows.
Common mistakes include overplucking and creating harsh lines, but these can be fixed with patience and proper tools.
Understanding Your Face Shape
Before you start shaping your eyebrows, it’s important to understand your face shape. Eyebrow shapes should complement your face to ensure balance and harmony.
Here’s a brief guide for different face shapes:
Oval or Slender Faces
- Any eyebrow shape works well with an oval face.
- Avoid overly arched or straight brows for a polished look.
- Slightly soften the edges to avoid harshness.
Round Faces
- Focus on creating angles by shaping arched brows.
- Avoid making your eyebrows too thin, as this can make your face look even rounder.
- Make sure the alignment between the bulb and tail is correct.
Square Faces
- Keep brows soft and rounded to soften the angles of your face.
- Avoid overly sharp angles in your brow shape, as they can make your face appear harsher.
Long Faces
- Short, thick eyebrows help balance a long face.
- Avoid a high arch as it can elongate the face further.
How to Shape Eyebrows for Different Face Types?
Each face type requires a different approach to eyebrow shaping. Here are the best practices:
Arched Eyebrows for Angular Faces
- A high arch can help balance out a square or angular face.
- Avoid arches that are too high, as they can look unnatural.
Soft Arches for Round Faces
- Keep brows soft and avoid overly sharp angles to maintain facial harmony.
- Focus on adding height to the arch to lengthen the face.
How to Trim Your Brows?
Maintaining the shape and cleanliness of your brows is the first step toward perfect eyebrows. Here’s a step-by-step process for trimming:
Tools You’ll Need:
- Tweezers
- Eyebrow brush or spoolie
- Scissors
- Magnifying mirror
Step-by-Step Guide:
- Brush your eyebrows upward using a spoolie to see the length.
- Use small, sharp scissors to trim any long hairs sticking out of the natural brow line.
- Tweeze stray hairs below and above your natural eyebrow shape. Be careful not to overpluck.
- Apply a soothing gel afterward to reduce redness or irritation.
How to Shape Eyebrows by Plucking?
Plucking is one of the most common methods for shaping eyebrows. Follow these steps to achieve the perfect brow shape.
Steps to Pluck Eyebrows Correctly:
- Mark the beginning, arch, and end of your brows. The start of your brow should align with the side of your nose, the arch should be above the iris, and the tail should extend to the outer corner of your eye.
- Pluck in the direction of hair growth to avoid breakage and pain.
- Avoid over-plucking, as it can create sparse areas that are difficult to grow back.
How to Fill in Eyebrows?
Filling in your eyebrows can make them appear fuller and more defined. Eyebrow pencils, powders, and gels are ideal for this.
Steps to Fill in Brows:
- Start with a pencil one or two shades lighter than your hair color. This will create a natural look.
- Use small, feathery strokes to mimic the natural direction of your eyebrow hair.
- Concentrate more pigment on areas where your brow hair is sparse.
- Blend with a spoolie to soften the look.
- Finish by applying a clear brow gel to set your eyebrow makeup in place.
How to Use Eyebrow Powder?
Brow powder is perfect for a soft, natural look. It adds subtle definition without being too harsh.
How to Apply Eyebrow Powder:
- Dip an angled brush into the powder.
- Start at the arch and move towards the tail of your brows using light, upward strokes.
- For extra depth, use a darker shade of powder at the tail and a lighter shade at the front.
- Set with brow gel for a long-lasting effect.
Common Mistakes in Eyebrow Shaping
Avoid these common mistakes when shaping your eyebrows:
Overplucking
- Many people make the mistake of overplucking, which can lead to sparse brows. Always remove a little at a time and step back to check your progress.
Creating Harsh Lines
- Avoid drawing in your brows with heavy, straight lines. Use light strokes for a more natural look.
How to Fix Eyebrow Mistakes?
We all make mistakes when shaping our eyebrows. Here’s how to fix them:
Over-Plucked Brows
- If you’ve over-plucked, allow your brows to grow back naturally. In the meantime, use a pencil or powder to fill in the sparse areas.
Unruly Brows
- If your brows are out of control, trim and shape them with scissors. Use a clear brow gel to keep them in place throughout the day.
No Arch
- For those without a natural arch, use highlighter under the brow bone to lift the appearance of your eyebrows.
Conclusion
Shaping your eyebrows involves more than just tweezing away stray hairs. It requires an understanding of your face shape, proper tools, and careful attention to detail.
Whether you prefer to shape your brows through plucking, filling them in with makeup, or using natural oils to thicken them, remember that patience is key. Over time, you’ll master the art of shaping eyebrows that perfectly suit your face and style.
Shaping your eyebrows is about complementing your natural facial features. By following the right techniques, you can create eyebrows that enhance your appearance and help frame your face beautifully.
FAQs About Shape Eyebrows
How Does Eyebrow Shape Affect The Face?
The brows are a natural and beautiful technique to frame the face in a way that is both calming and balancing. If you choose a brow that is too dramatic for your face and delicate features, it will compete with those qualities and look unnatural.
If you have other facial characteristics that are more prominent, having thin brows can throw off your entire appearance and draw attention to the fact that your brows are too thin.
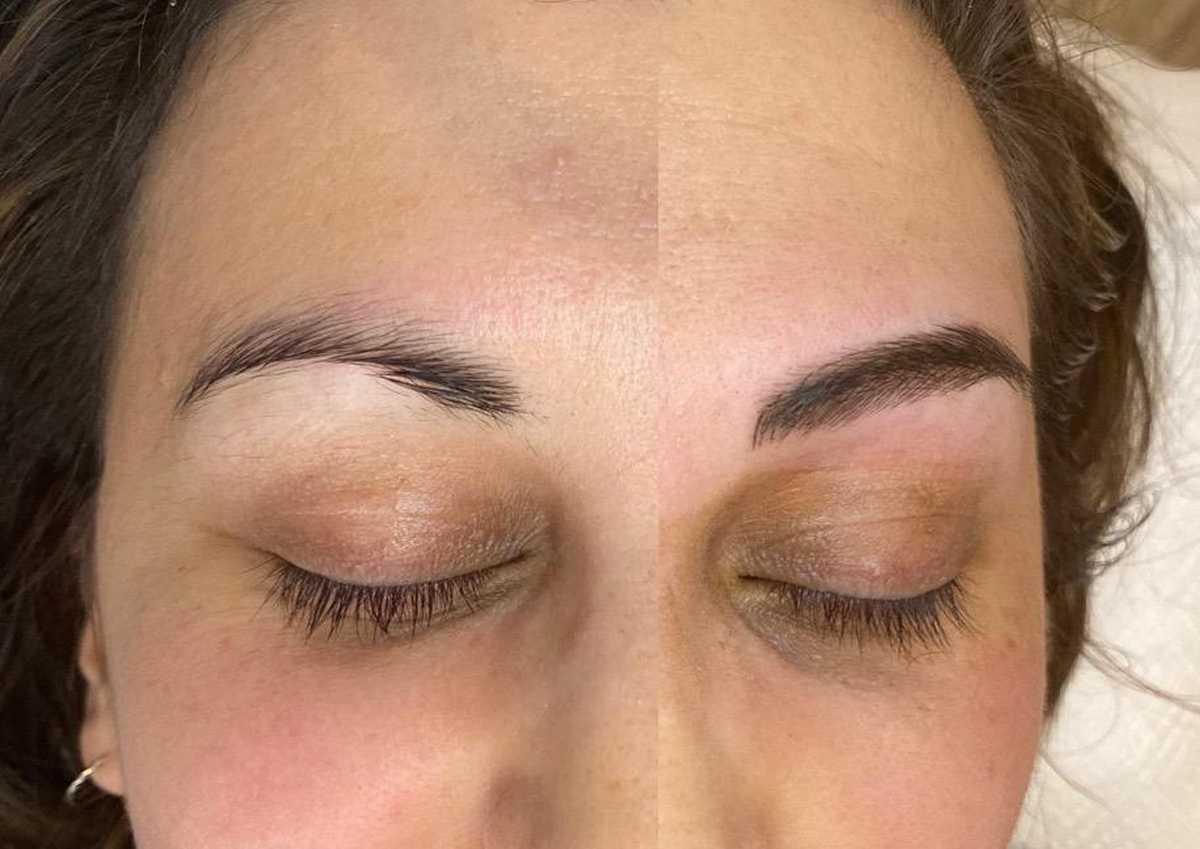
How Long Does A Brow Shaping Last?
It can last five to ten days, depending on your skin type and skincare routine. After applying our dye made from vegetables in a specific pattern to your brow shape, we wait a few minutes and then remove it to expose your brows to a fuller, more filled-in appearance.
Can Eyebrow Shape Be Changed?
If you are considering altering the form of your eyebrows, it is highly recommended that you seek the assistance of a professional who specialises in shaping brows. They can sketch out your ideal form and point out where you need to put more effort into building thickness to realise your goals.
Is Eyebrow Shaping Necessary?
It has become vitally necessary to trim, shape, and fill in their eyebrows to attain an appearance that is visually acceptable. As a result, eyebrows have evolved through the years to become essential in improving one’s natural beauty.
How Painful Is Eyebrow Shaping?
It could be uncomfortable initially, but the pain will go away quickly. The degree of discomfort experienced by a person during threading is also influenced by the location of the body being worked on.
