Are you tired of spending time each morning trying to tame unruly eyebrows? If perfectly arched brows that require little maintenance sound appealing, microblading might be the answer.
This semi-permanent cosmetic tattooing technique creates fuller, natural-looking brows through fine, hair-like strokes. To help you get the most from your microblading procedure, we’ve compiled a detailed guide on essential pre- and post-care do’s and don’ts.
Let’s get straight to the point
Microblading is a semi-permanent cosmetic procedure that creates fuller, natural-looking brows through fine hair-like strokes. Pre-care involves avoiding waxing, exercising, taking certain medications and researching a licensed technician.
Post-care includes keeping the brows dry, applying ointment, and avoiding sweating, sun, and makeup for proper healing. Common side effects include swelling and scabbing, which should be left alone to avoid uneven results.
A touch-up is often needed 4-6 weeks after the procedure. With proper care, microblading can deliver long-lasting, low-maintenance brows for up to two years.
Do’s Before Microblading
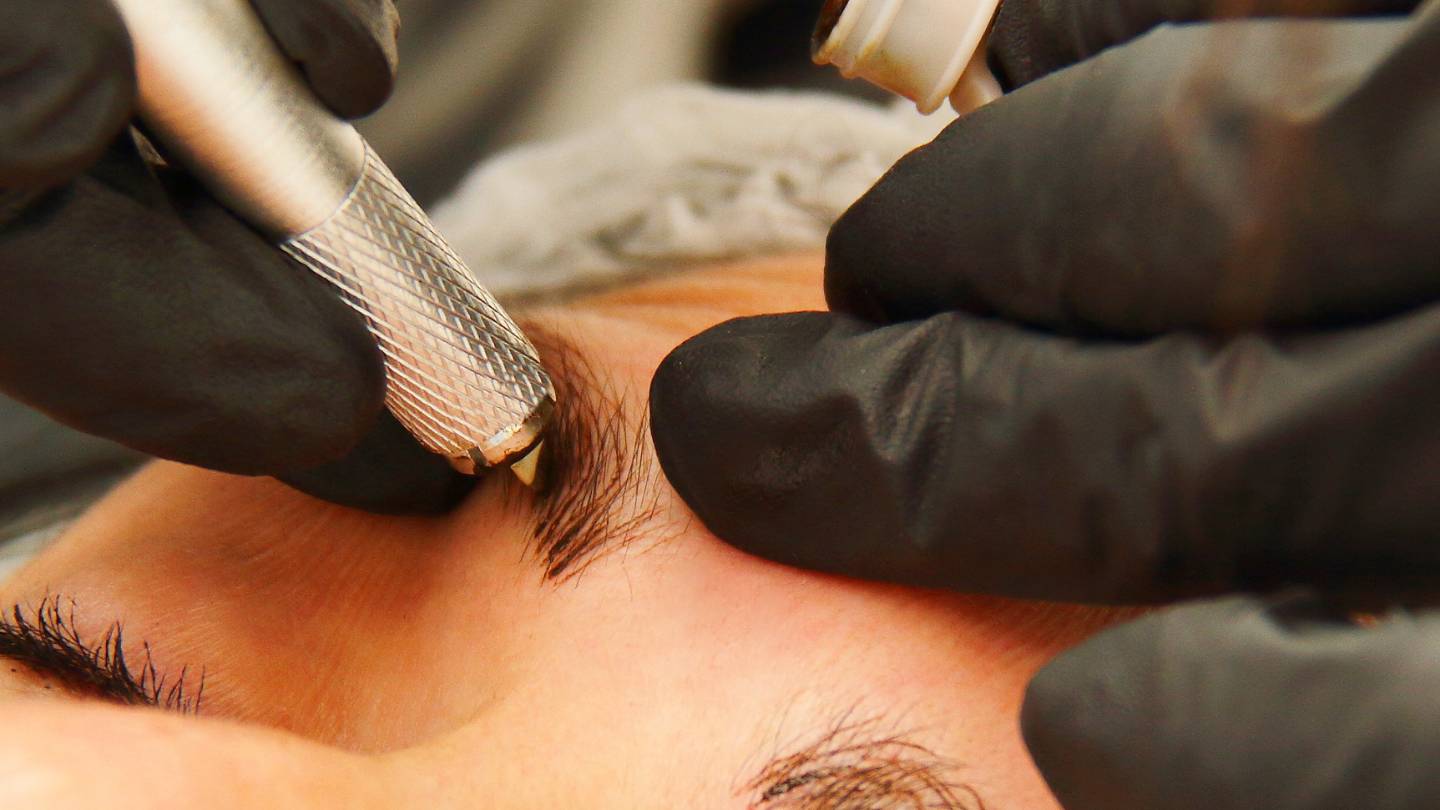
1. Research Your Technician
Take time to research licensed and certified microblading professionals in your area. Check portfolios and reviews to ensure you choose someone experienced.
2. Consult with an Expert
Before committing, schedule a consultation with your microblading technician. This will allow them to assess your brow shape and provide guidance on the best design for your face.
3. Prepare for the Procedure
Avoid waxing, plucking, or threading your eyebrows for at least 72 hours before your appointment. This allows the technician to work with your natural brow shape.
4. Ensure You’re Eligible
Microblading is only suitable for some. Those who are pregnant, breastfeeding, or have certain medical conditions such as diabetes should avoid the procedure.
5. Communicate Clearly
Keep open communication with your technician. Please discuss any health conditions or medications that could affect the process, and ensure they design a brow shape that complements your facial features.
Don’ts Before Microblading
1. Avoid Exercise
Skip your workout the day before your appointment. Exercise increases circulation and sweating, which could interfere with the procedure.
2. No Alcohol or Caffeine
Refrain from consuming alcohol or caffeine 48 hours before your appointment. These can thin your blood and cause excessive bleeding during the procedure.
3. Sun Exposure and Tanning
Avoid tanning or spending prolonged time in the sun at least one week before your microblading appointment. Sun-damaged skin may not heal well.
4. Medications to Avoid
For a week before the procedure, avoid aspirin, ibuprofen, or blood-thinning supplements (e.g., fish oil and vitamin E).
5. No Retin-A or AHA Products
Discontinue Retin-A and alpha-hydroxy acid (AHA) products at least four weeks before your appointment, as these can make your skin more sensitive.
Do’s After Microblading
1. Keep Your Brows Dry
For the first week after the procedure, avoid water on your brows. Use a cotton pad to clean your face, ensuring you don’t get your brows wet.
2. Apply Aftercare Ointment
Your technician will provide an ointment to prevent cracking and dryness. Apply it twice daily for the first week and once daily in the second week.
3. Avoid Sweating and Heat
Refrain from exercise, saunas, and steam rooms for at least one week after the procedure. Excessive sweating can affect pigment retention.
4. Limit Sun Exposure
Stay out of the sun for at least two weeks following the treatment. Exposure can lead to fading and infection.
5. Gently Clean Your Brows
Clean your brows gently with mild soap and water, but avoid scrubbing or picking at any scabs that form during healing.
Don’ts After Microblading
1. Don’t Touch Your Brows
It’s important not to touch or scratch your brows during healing. Doing so can lead to infection or disrupt the pigment.
2. Avoid Makeup and Skincare Products
Stay away from makeup, lotions, and skincare products near your brows for at least two weeks. These can irritate and slow down the healing process.
3. No Exercise or Heavy Sweating
Skip intense exercise for at least one week after the procedure. Sweating can cause pigment loss and interfere with healing.
4. Don’t Pick at Scabs
It’s normal for scabs to form during healing, but resist the urge to pick or peel them. This can result in patchy brows or uneven healing.
5. No Chemical Treatments
Avoid chemical peels, facials, or exfoliating treatments around the eyebrow area for at least four weeks post-microblading.
Touch-Up Appointments
Microblading often requires a touch-up session 4 to 6 weeks after the initial procedure. This session allows your technician to fill gaps, adjust the shape, and add pigment.
Proper touch-ups can extend the lifespan of your brows to 18 months or even longer.
Conclusion
Microblading is a highly effective way to achieve fuller, natural-looking eyebrows with minimal maintenance. By following the dos and don’ts outlined in this guide, you can ensure a smooth procedure and long-lasting results.
The key to maintaining beautiful brows is diligent aftercare—keep your brows dry, avoid excessive sun exposure, and never pick at scabs. You’ll enjoy well-groomed, defined eyebrows for years with the right care and regular touch-ups.
Microblading offers a semi-permanent solution that transforms your look. Whether considering the procedure for the first time or looking to perfect your routine, this guide provides everything you need to ensure success.
FAQs About Microblading
What is Microblading, and How Does It Work?
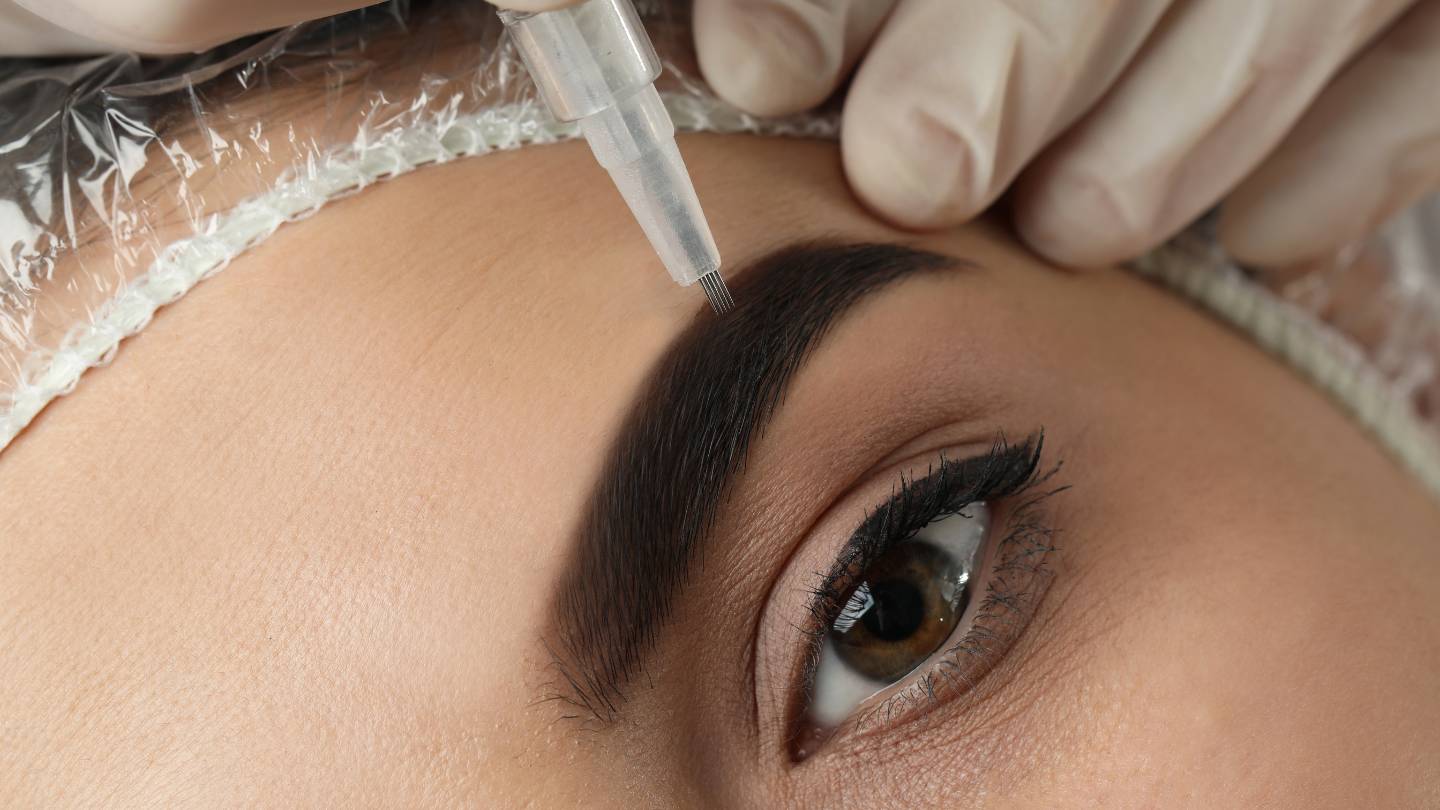
Microblading is a semi-permanent cosmetic procedure used to enhance the appearance of eyebrows. It involves using a hand-held tool with tiny needles to create small, hair-like strokes in the eyebrow area. These strokes are filled with pigment to mimic the look of natural eyebrow hairs. Microblading works by depositing pigment into the upper layers of the skin, resulting in fuller, more defined eyebrows.
What Are the Do’s and Don’ts Before Microblading?
Do’s:
- Consult with a qualified and experienced microblading artist.
- Avoid alcohol and blood-thinning medications for at least 24 hours before the procedure.
- Arrive with clean, makeup-free skin around the eyebrow area.
- Communicate your desired eyebrow shape and color with the artist.
Don’ts:
- Do not consume caffeine on the day of the procedure.
- Avoid sun exposure, tanning, and waxing for at least a week prior.
- Do not take any aspirin or other blood-thinning medications before the appointment.
- Refrain from using retinol or skincare products with active ingredients near the eyebrows.
What Can I Expect After Microblading?
After microblading, it’s common to experience some temporary side effects such as redness, swelling, and mild discomfort in the treated area. Your eyebrows may appear darker initially, but they will fade over time. It’s important to follow the aftercare instructions provided by your artist, which may include avoiding excessive moisture, sun exposure, and picking at the scabs that form.
How Long Does Microblading Last, and Will I Need Touch-Ups
Microblading typically lasts anywhere from 12 to 18 months, although results can vary depending on factors like skin type and care. Touch-up sessions are recommended every 6 to 12 months to maintain the desired look. These touch-ups help refresh the color and shape of your eyebrows, ensuring they remain consistent and vibrant.
What Should I Avoid After Microblading?
After microblading, it’s essential to avoid certain activities and products to ensure the best results:
- Avoid getting your eyebrows wet for the first 7-10 days.
- Do not apply makeup or skincare products directly on the treated area during the healing process.
- Avoid swimming in chlorinated pools or hot tubs.
- Stay away from excessive sweating or activities that may cause heavy perspiration.
