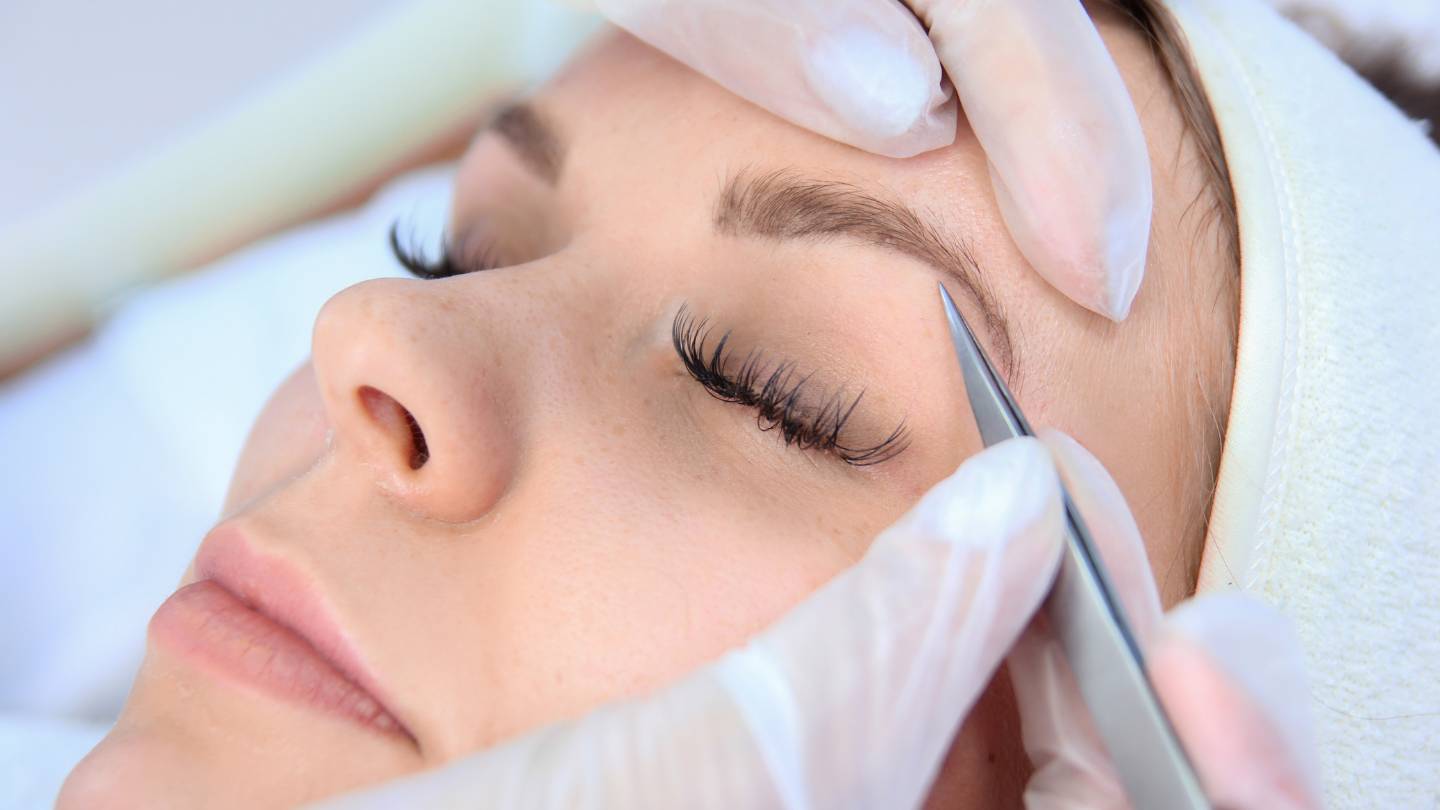
Eyebrow feathering, called microblading or feather tattooing, is a semi-permanent cosmetic procedure designed to create fuller, natural-looking brows. Whether you choose micro feathering, feather touch brows, or any other method, maintaining the flawless appearance of your brows after treatment is important for long-lasting results.
In this guide, we will cover the key aspects of post-feathering brow care, including maintenance tips, avoiding common mistakes, and maximising the longevity of your brows.
Let’s get straight to the point.
Proper post-care is vital to maintain perfectly feathered brows after microblading or feather tattooing procedures. Feathering creates natural-looking brows using hair-like strokes, but aftercare is necessary to prevent infection, uneven healing, or pigment fading. Key tips include:
- Cleaning the brows gently.
- Applying aftercare gel.
- Avoiding harsh skincare products.
- Limiting exposure to heat and moisture.
Long-term maintenance involves sun protection, gentle cleansing, regular moisturising, and avoiding exfoliation. By following these guidelines, you can ensure your brows heal properly and maintain their flawless appearance for longer.
The Importance Of Post-Feathering Care
Post-feathering maintenance ensures your eyebrows heal properly and retain their desired appearance. The procedure of eyebrow feathering involves creating small, hair-like strokes with pigment to mimic natural brows.
However, this process also causes minor trauma to the skin, leaving it vulnerable to infection, pigment loss, and uneven healing if not cared for properly. Proper aftercare is essential to avoid these issues.
By following the recommended post-treatment routine, you will protect the delicate strokes of the pigment and ensure that your brows look their best for as long as possible. Without adequate care, you risk:
- Infection: The small incisions made during feathering leave your skin open to bacteria, which can cause infections if not cleaned properly.
- Pigment Fading: Exposure to certain conditions, such as harsh skin care products, sun, or excessive moisture, can cause the pigment to fade prematurely.
- Uneven Healing: Inconsistent aftercare can lead to patchy areas where the pigment settles unevenly, affecting the overall look of your brows.
Understanding and following post-feathering maintenance will prevent complications and help your brows heal smoothly and beautifully.
Immediate Aftercare: The First Few Days Post-Treatment
The first few days after your eyebrow feathering procedure are critical to ensuring your brows heal correctly. This initial stage is when your skin is most sensitive and prone to complications, so adhering to a strict aftercare routine is important.
Below are the key steps for immediate care during the first week after treatment:
1. Clean Your Brows Gently
Clean your brows twice daily using a mild, recommended cleanser for the first week. This step is important in keeping the brow area free of bacteria and excess oils, which could cause infection or interfere with healing.
Ensure that your cleanser is gentle and free from harsh chemicals that could irritate the skin or strip the pigment.
- Tip: Rinse the area with lukewarm water and gently pat it dry with a clean, soft towel.
2. Apply Aftercare Gel As Recommended
Your technician will likely provide or recommend an aftercare gel or ointment. Apply this gel as instructed to keep the area moisturised.
The moisturising step is essential in preventing dryness, which can cause the skin to scab too aggressively. When scabs form and flake off too soon, they can take the pigment with them, leaving your brows patchy.
- Tip: Apply the gel with clean hands or a cotton swab to avoid introducing bacteria.
3. Avoid Active Skincare Products On The Forehead
Skincare products that contain active ingredients such as retinoids, glycolic acids, and exfoliants should be avoided in the brow area for at least a week after your procedure. These ingredients are too harsh for the healing skin and can interfere with the pigment settling correctly, leading to fading or discolouration.
- Tip: Check the ingredient lists of your regular skincare products to ensure they don’t contain active ingredients that could come into contact with your healing brows.
4. Avoid Excessive Heat And Sweating
Avoid excessive moisture from hot showers, steam rooms, saunas, and sweating for the first week. Moisture can cause the pigment to bleed or fade before properly settling.
Activities that cause sweating, such as exercise, should also be limited to prevent excess moisture from disrupting the healing process.
- Tip: Opt for cooler showers and avoid activities like running or hot yoga that can cause excessive perspiration during the healing phase.
5. Do Not Touch Or Scratch Your Brows
It’s normal to experience itching or mild discomfort as your brows heal, but it’s important not to touch or scratch the area. Scratching can introduce bacteria into the healing wounds and cause infection.
Additionally, scratching may cause the scabs to come off prematurely, resulting in uneven pigment or scarring.
- Tip: If itching becomes bothersome, apply a small amount of your aftercare gel or ointment to soothe the area.
Long-Term Brow Care
Once the initial healing phase is over, long-term care is significant in maintaining your feathered brows. Here are the key tips to follow for ongoing maintenance:
1. Sun Protection
Sun exposure can cause pigments to fade quickly. Protect your brows from the sun by applying sunscreen or wearing a hat. Avoid prolonged exposure to UV rays, especially in the early stages of healing.
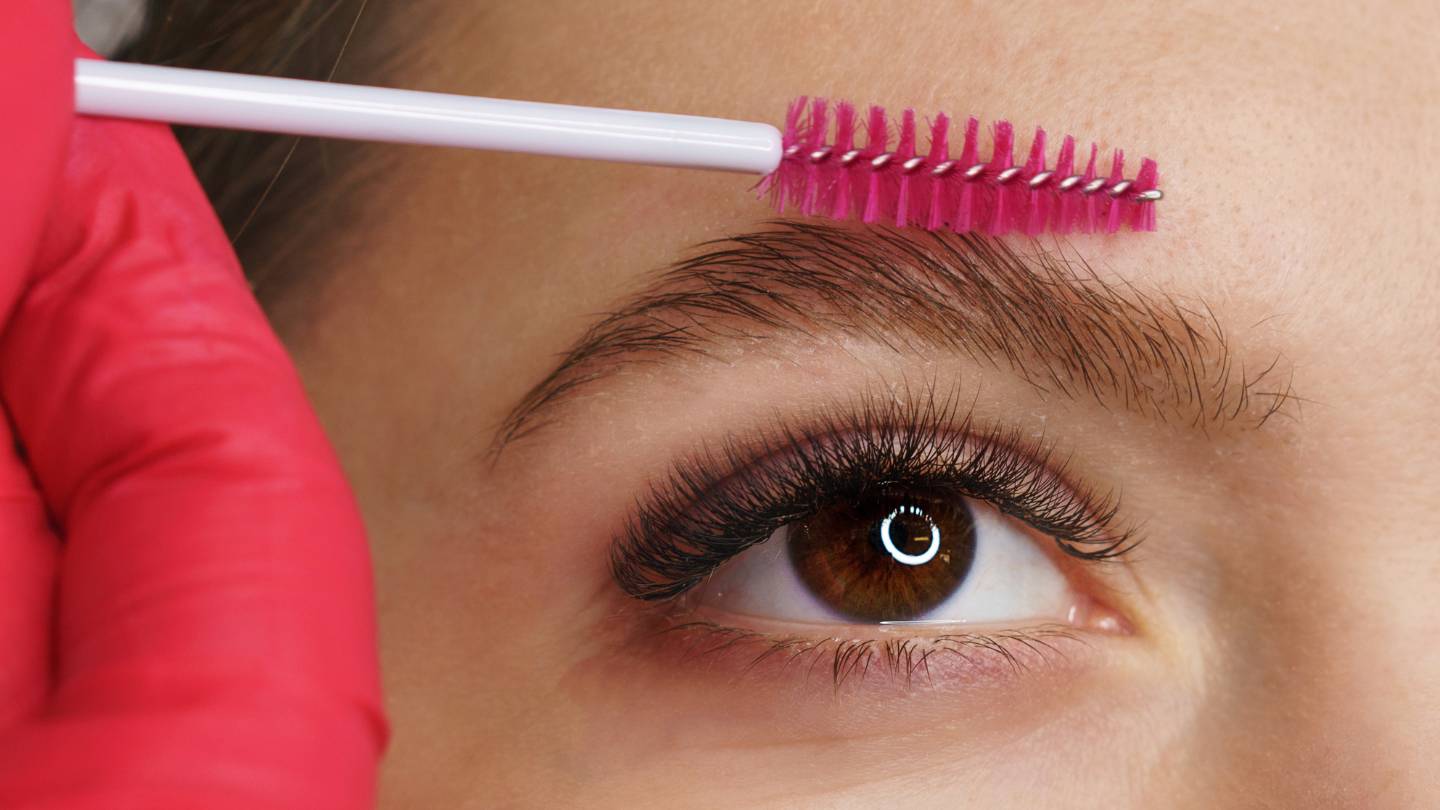
2. Gentle Cleansing
Continue to clean your brows with a mild cleanser to avoid irritation. Use a clean spoolie brush to keep the hair strokes in place and looking fresh.
3. Moisturise Regularly
Dry skin can cause the pigment to fade faster, so keeping the brow area moisturised is essential. Use safe creams or oils for brow use, and avoid harsh products that may strip natural oils.
4. Avoid Excessive Exfoliation
Avoid scrubbing or exfoliating the brow area, as this can cause the pigment to fade or heal unevenly. Be gentle with your skincare products around the brow region.
Avoiding Common Mistakes After Eyebrow Feathering
While maintaining your brows, there are a few common mistakes to avoid to ensure long-lasting results:
1. Skipping The Research
Before undergoing any brow procedure, it’s essential to research and choose a reputable brow specialist. Look at before-and-after photos of their work to ensure they match your desired style.
Ensure the stylist is properly trained and follows all health and safety regulations.
2. Neglecting Brow Prep
Avoid waxing or tweezing your brows before your appointment. Allow your stylist to work with your natural brow hair for the best results.
Additionally, avoid using harsh exfoliants or peels on the skin near your brows leading up to the procedure.
3. Not Communicating With Your Technician
Clear communication with your technician is vital to achieving the results you want. Discuss your desired brow shape, colour preferences, and expectations. Ensure they measure and shape your brows precisely to avoid any unwanted surprises.
Conclusion
Post-feathering care is essential for maintaining the longevity and appearance of your brows. By following the recommended aftercare routine—cleaning, moisturising, and protecting your brows from harsh conditions—you can ensure they remain flawless for as long as possible.
Whether you’ve undergone microblading or microfeathering, proper care will help you get the most out of your brow treatment. With these tips, you can enjoy beautiful, well-defined brows that enhance your look.
FAQs About Eyebrow Feathering
What Products Should I Avoid On My Brows During The Healing Process?
Steer clear of makeup, skincare products containing active ingredients, and direct sunlight. These can interfere with healing and pigment retention.
Can I Exercise Or Swim After Getting Feathered Brows?
It’s advisable to avoid heavy sweating and swimming for about a week post-treatment to prevent pigment loss due to excessive moisture.
When Can I Start Applying Makeup To My Feathered Brows?
Wait at least a week before reintroducing makeup around the eyebrow area to avoid infection or interference with the healing process.
Can I Touch Or Scratch My Brows During The Healing Process?
It’s crucial to avoid touching, scratching, or picking at your brows to prevent any pigment loss or infection.
Is It Normal For My Brows To Scab During The Healing Process?
Yes, some scabbing might occur. It’s essential not to pick at the scabs as this can affect the healed results and lead to pigment loss.
