Microblading is a popular cosmetic procedure for achieving perfectly shaped and defined eyebrows. While many people are thrilled with the results, it’s important to recognise that things can occasionally go wrong.
Various factors can contribute to poor outcomes, including untrained technicians, improper aftercare, or skin-related issues. To ensure the best possible result, it’s essential to understand the potential risks, be aware of the procedure’s demands, and work with a professional artist.
This guide will help you navigate microblading and show you how to fix any issues should things go wrong.
Let’s get straight to the point.
Microblading is a semi-permanent eyebrow procedure that occasionally leading to uneven strokes, unnatural shapes, or colour mismatches. These problems often arise from untrained technicians, poor aftercare, or skin reactions.
To avoid microblading mistakes, choose a skilled artist, check for hygiene standards, and follow all aftercare instructions. If things go wrong, options like makeup, retouching, saline or glycolic acid removal, and laser treatments can help correct the results.
Proper preparation and expert guidance are key to achieving the best brows.
Frequent Microblading Problems And How To Address Them
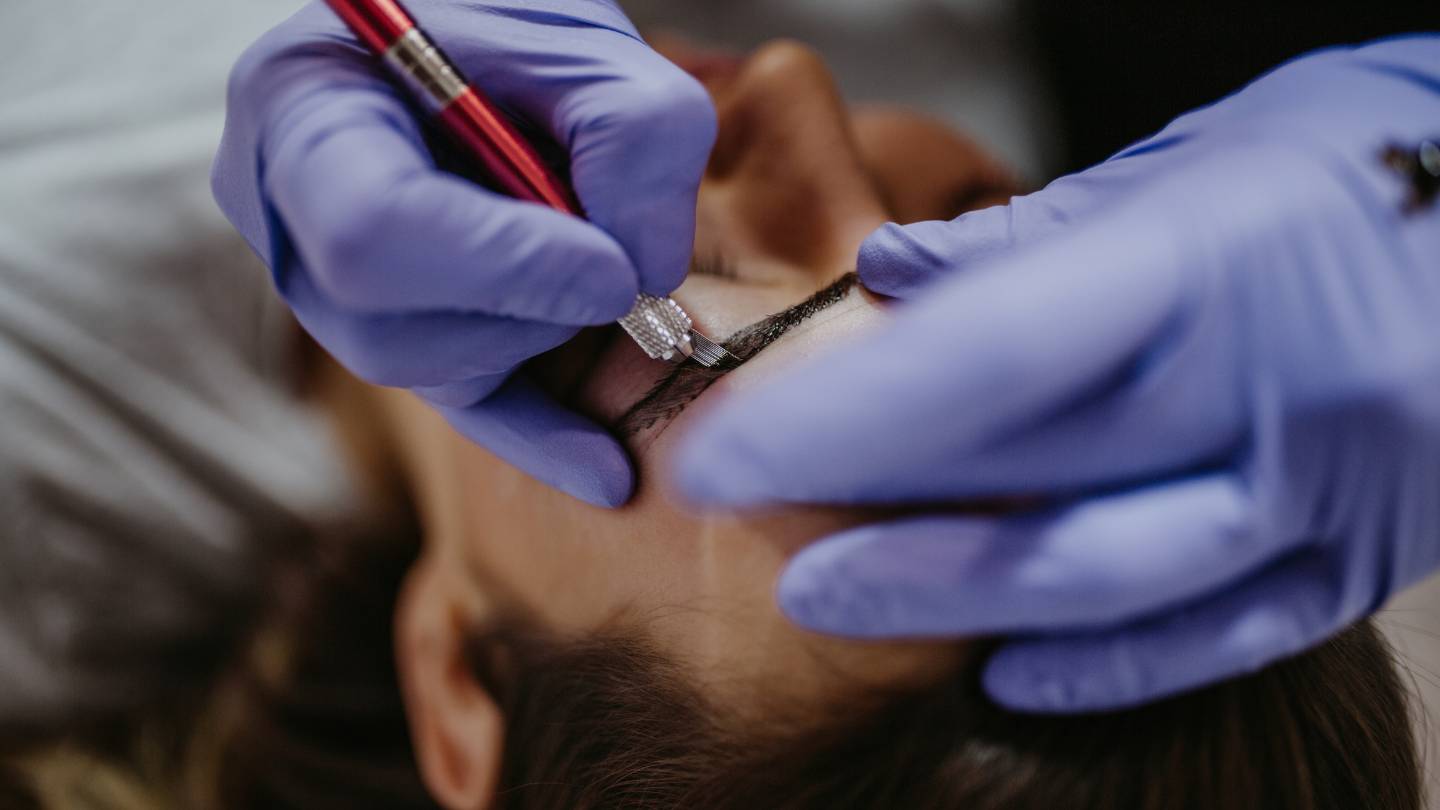
Microblading is designed to create natural-looking, semi-permanent eyebrows using fine strokes to mimic hair. However, there are times when the final result does not meet expectations. Here are some common problems and what causes them:
1. Eyebrow Shape Problems
- Thin Brows: Miscommunication between the client and the technician can lead to too-thin eyebrows. When clients request sparse eyebrows or the artist needs to understand the request, the results can be disappointing. This often results from needing to ask more questions or clarify the desired look.
- Misaligned Brows: Eyebrows that don’t match each other or look misaligned are a common issue. Often, clients don’t realise this until they leave the salon. However, misaligned brows are one of the easiest microblading mistakes to correct with a touch-up or second opinion.
- Unnatural Shapes: Some eyebrows can look artificial or unsuitable for a person’s face shape. This typically happens when the arch is drawn too high or low, creating an awkward triangular look. In other cases, thick and chunky brow strokes can make the brows look unnatural and drawn on with a marker.
2. Strokes That Don’t Look Real
Microblading should produce natural-looking hair strokes, but sometimes mistakes can cause the strokes to appear too thick, artificial, or uneven. This can happen due to:
- Poor Technique: An inexperienced artist might rush through the procedure, resulting in uneven strokes. When accuracy is compromised, the brows can look patchy, leaving inconsistent results.
- Incorrect Blade Angle: For the best outcome, the blade should be positioned at a 45-degree angle. Failing to maintain this angle can result in unnatural-looking strokes.
- Pigment Inconsistency: Uneven pigment application can cause areas of the eyebrow to look darker than others. While an eyebrow pencil might temporarily resolve this issue, it defeats the purpose of getting a semi-permanent treatment in the first place.
3. Symmetry And Pigment Issues
Even the best microblading artists sometimes get the symmetry perfect, leading to uneven eyebrows. Here’s what can go wrong:
- Lack of Symmetry: Everyone’s face is asymmetrical to some degree, but uneven eyebrows can be particularly noticeable after microblading. This usually occurs when the artist does not follow the face’s natural contours or rushes through the process.
- Too Much or Too Little Pigment: Applying too much pigment can result in overly dark brows, giving a heavy, unnatural appearance. On the other hand, insufficient pigment might cause the eyebrows to fade too quickly, leaving incomplete patches.
- Mismatch in Colour: Sometimes, the eyebrow colour chosen doesn’t match the client’s skin tone. Weeks after the procedure, clients may realise the colour looks off, either too dark or too light for their face.
- Unexpected Colour Changes: In rare cases, brows can change colour after healing, turning shades of red, blue, grey, or orange. This can happen due to an artist using the wrong pigment for a client’s skin tone or applying the pigment incorrectly.
Correcting Mistakes In Microblading Procedures
If your microblading hasn’t turned out as expected, don’t panic—there are ways to fix the problem. Here’s what you can do:
1. Use Makeup For Minor Issues
A brow pencil can help hide small imperfections, such as uneven strokes or minor asymmetry. It is a temporary solution while you decide whether you want a touch-up or a more permanent fix.
2. Request A Retouch From Another Artist
If you’re not happy with your initial results, it might be worth consulting a different artist for a retouch. A more experienced technician can often correct uneven or symmetry issues with a few additional strokes.
3. Fade The Brows At Home
Some people suggest using products like hydrogen peroxide paste or retinol to fade overly dark brows. These methods can help lighten the pigment, though results may vary depending on the pigment used and how well your skin retains it.
4. Saline Removal
Saline removal involves injecting a saline solution into the brow area to fade unwanted pigment. It’s most effective within 48 hours of the procedure. However, it can take multiple sessions, and you must wait for your brows to heal before undergoing saline removal.
5. Glycolic Acid Removal
Similar to saline removal, glycolic acid can be used to fade microblading pigment. This method also requires multiple sessions but can be effective for correcting mistakes.
6. Laser Removal
For more significant errors, laser removal is an option. A laser specialist targets the pigment in your brows, breaking it down over time. Laser removal can be expensive and painful, but it’s highly effective for permanent correction.
Preventing Microblading Mishaps: Tips For A Successful Outcome
Proper preparation and selecting a qualified artist is the best way to avoid microblading mistakes. Here’s how to ensure you get the best results:
1. Choose A Trained And Experienced Artist
Do your research before choosing an artist. Look for someone who is licensed, well-trained, and experienced in microblading. Ask to see their portfolio, check their reviews, and ensure they have a good track record.
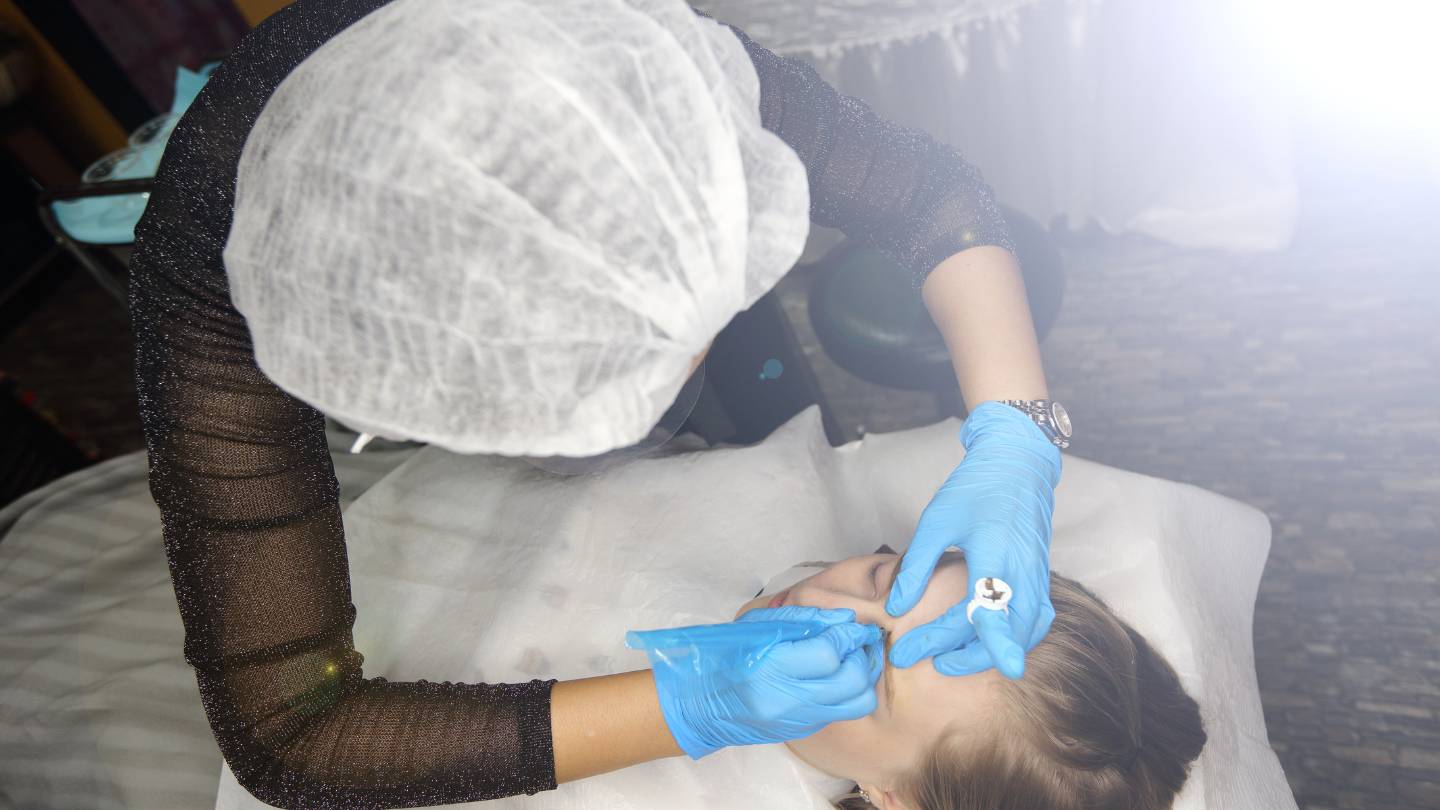
2. Check For Hygiene And Safety
Ensure the salon follows proper hygiene practices. The artist should use new, sterile tools for each client, wear gloves and a face mask, and perform patch tests to check for allergies.
3. Ask About Pigments
Make sure the artist uses high-quality pigments. Ask about the ingredients, and ensure the pigments are safe for your skin type. Avoid pigments that contain nickel, as it’s a common allergen.
4. Understand Your Skin Type
Your skin type can affect how well the pigment holds up over time. People with oily skin may find that microblading doesn’t last as long or that the strokes become blurry.
If you have oily skin, ask your artist whether powder brows or a machine technique might be better for you.
Conclusion
Microblading is an excellent option for those looking to enhance their eyebrows but comes with risks. Poor technique, improper pigment application, and skin reactions can all lead to disappointing results.
To avoid these issues, it is important to choose a skilled artist, understand the process, and follow all aftercare instructions carefully. If you experience problems, feel free to seek professional help to correct them.
Whether through makeup, retouching, or removal techniques, there are ways to fix unsatisfactory results. Following these steps ensures your microblading experience leaves you with the beautiful brows you’ve always wanted.
FAQs About Microblading
Why Did My Microblading Fade So Quickly?
Microblading may fade quickly due to various factors such as improper aftercare, sun exposure, using skincare products with exfoliants, or poor technique during the procedure.
What Causes Uneven Or Asymmetrical Brows After Microblading?
Uneven or asymmetrical brows can result from the technician’s lack of skill, incorrect measurements, or skin texture variations. Poor healing and aftercare can also contribute to uneven results.
Is It Normal For The Color Of My Microbladed Brows To Change?
Yes, it’s normal for the colour to change slightly during the healing process. However, drastic colour changes could indicate poor pigment quality, incorrect colour matching, or an adverse reaction to the pigment.
Why Do Some People Experience Scarring After Microblading?
Scarring can occur if the microblading tool penetrates too deeply into the skin or the client doesn’t follow proper aftercare instructions. Infections or allergic reactions can also lead to scarring.
Can Microblading Cause Allergic Reactions?
Yes, some people may be allergic to the pigments used in microblading. Allergic reactions can manifest as redness, itching, swelling, or even more severe symptoms. Patch tests can help identify potential allergies before the full procedure.
