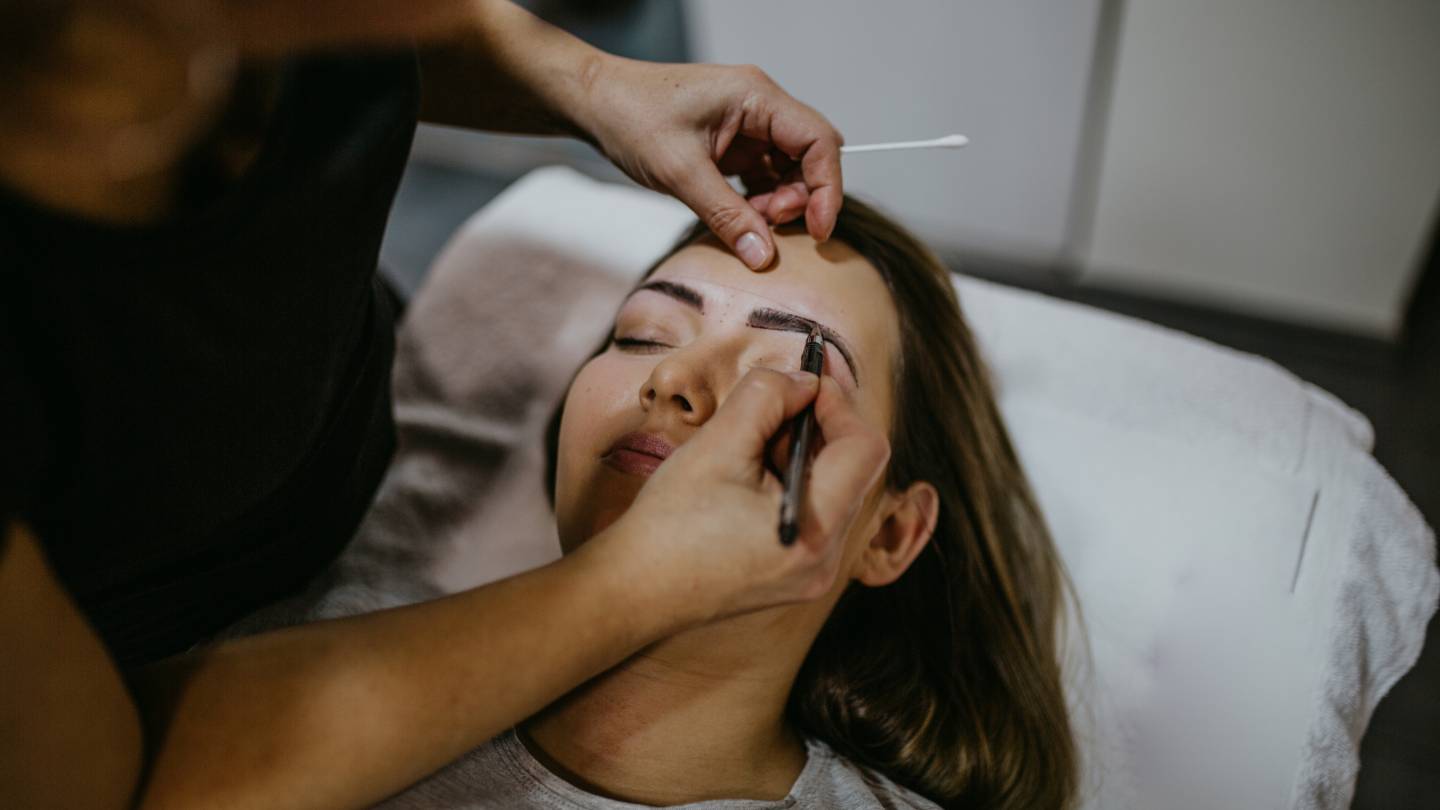
how do i care for my eyebrows after microblading

How Do I Care For My Eyebrows After Microblading?

Table of Contents
    Add a header to begin generating the table of contents

    Embarking on the microblading journey is an exciting step towards achieving impeccably defined eyebrows. 

    This comprehensive guide will unravel the essential steps and tips to nurture your freshly microbladed eyebrows. 

    From the initial hours after the procedure to the subsequent weeks, understanding the do's and don'ts becomes imperative in preserving the intricate artistry of microblading. 

    Delving into the world of eyebrow care post-microblading not only safeguards the investment you've made in enhancing your natural beauty but also contributes to a seamless healing process, ultimately unveiling stunning, well-defined brows that effortlessly frame your face. 

    Join us as we demystify the art of caring for your eyebrows after microblading, ensuring that your newfound radiance stands the test of time.

    Aftercare Methods For Microblading

    Dry or moist healing are two options your aesthetician may suggest for microblading aftercare. 

    • To facilitate wet healing, it is recommended to gently wash the brows using sterile water and then wipe them dry using a clean cloth. You may be prescribed an aftercare ointment as a precaution against infection and to hasten the skin's healing process. 
    • Two types of dry healing exist. The first step is to wash the brows like the wet-healing technique but without the ointment. Because of the risk of infections and other consequences, the second option is not often advised because it is somewhat extreme. Avoiding water helps the brows heal spontaneously, rather than cleaning and using ointment.

    "Do Nothing" or "Dry Healing" approaches work best. The key to getting the most out of your brow product is to keep it completely dry for ten days. Ultimately, keeping them dry is worth it since they retain greater detail, better colour, and crisper strokes. You only need to be careful; it's easier than it sounds.

    • Use fragrance-free baby wipes to keep your eyebrows clean for the first two to three days. Apply the aftercare lotion only as directed, especially if you experience dryness or tightness in your eyebrows. Dab a very small amount in just one way. For the next ten days, that is all!
    • While you wash your hair, keep your face away from the water and try to dry it thoroughly. If they become wet, always have some dry paper towels nearby to pat them dry. Overly steamy showers can also damage brows, so keep them short. You can find shower caps that conceal your hair and eyebrows.
    • Do not, as is customary, spray water across your face when washing it. Avoid smearing makeup all over your brows; moisten a paper towel or use fragrance-free baby wipes to clean them thoroughly.
    • During the first ten days, rub a piece of product-free blotting paper over your brows and the region around them three times a day for normal skin and six times a day for oily skin.
    • For at least ten days, avoid touching your brows with cosmetics. The end product will be compromised and destroyed. Take your time!
    • You should avoid strenuous physical activity for at least ten days after treatment. This is vital if you desire the highest colour and detail preservation level.
    • After ten days, you can resume your regular face-washing routine—including your brows!—. Use a mild facial cleanser like Cetaphil.

    how do i care for my eyebrows after microblading 1

    What To Expect Following Microblading

    It is essential to exercise extreme caution throughout the initial stage of microblading healing if you desire to get your ideal eyebrows. This brief guide will walk you through the first 30 days of your microblading recovery to give you a better understanding of what to expect.

    DAY 1

    Imagine yourself on Day 1. ARRIVE, NEW BROWS! Going into your artist's studio with sparse or nonexistent brows is an option, but you can still obtain beautiful results! Your hairstyle is stunning, and you always want to flaunt your flawless brows to everyone.

    They differ greatly despite appearing rough, thick, and slightly reddish. You have a new outlook on life & your brows are a striking shade of brown. When you're not accustomed to filling them in frequently, they could appear more dramatic than normal, be painful, slightly swollen, and even bleed slightly. Your concerns will fade into thin air because this is only the beginning of your trip.

    DAY 2-4

    Day 2 is going to be a breeze. Do not be alarmed if you see that your brows will darken throughout this time. Soon, they'll brighten up again. The next day, your brows may be slightly fuller in texture from the day before, still very delicate and reddish.

    You could feel as though everyone was staring at your brows because of the change. In all likelihood, though, you're more self-conscious about them than everyone else, not because they're noticeably darker than normal.

    DAY 5-8

    Your eyebrows will peel and scab at this time. At this point, you might also notice that the afflicted region is becoming itchy. Reassure yourself! The mending process is only beginning at this moment. If you pick or peel the scabs, you risk removing pigment and causing additional discomfort or infection; therefore, you must refrain from doing either.

    As soon as they are ready, the scabs will naturally come off. It's tempting to bombard your artist's phone with questions and accusations, but you should resist the desire. Scratching after a facial cut indicates that your body attempts to heal the injury. It's normal, and you'll notice no difference from the healing process of any other tattoo you've gotten.

    DAY 9-10

    The furrows between your eyes may look like they've "fallen off." At this point, it is critical to close the wounds. Your brows will look much better in the future, so there's no need to be self-conscious about the light look now. Remember that applying makeup to your recovering brows could irritate your skin.

    DAY 10-21

    Yes, you're getting close! Do not give up if your brows appear uneven at this point. The healing process is nearly finished! Your new, reduced makeup routine will become second nature in no time; think of all the fun you'll have on those days at the beach with waterproof brows!

    DAY 30

    Hey, guess what? We are happy to hear that you have made a full recovery! Your skin is now in a much better condition, and your eyebrows are more attractive than ever.

    You can discern whether anything needs to be added or changed at this stage. It all depends on how your skin absorbs the colourants; if you notice a few spots from pigment loss, that's OK; your follow-up appointment is almost here!

    Step-By-Step Microblading Aftercare Instructions

    This was merely a brief synopsis of your 30-day microblading experience. Naturally, we must guarantee that it is risk-free for you. So, we've put this guide together to help you remember everything during the 14-day microblading aftercare.

    On The Treatment Day, Absorb

    On the day of treatment, gently pat the afflicted area with a clean tissue to absorb excess lymph fluid. You must eliminate these if you don't want your lymph to harden. Keep doing this until the bleeding stops all day long.

    Wash And Moisturise On Days 1-7

    For the first seven days, remove dead skin & bacteria by washing the region twice a day, first thing in the morning and again at night, using water & an antibacterial soap, such as Cetaphil. 

    Gently massage the area for 10 seconds before rinsing thoroughly to remove any remaining soap. Gently wipe the area using your wipe fingertips.

    After each wash, use the aftercare ointment. Be wary of using any acidic or exfoliant-containing skincare products.

    Day 8-14: Continue To Cleanse The Area Twice Daily

    The aftercare ointment isn't strictly necessary, but applying it twice a day will hasten the healing process for your eyebrows and any other damaged regions. It has other benefits, such as preventing dryness and chapped skin.

    Aftercare Do's And Don'ts

    No matter what kind of aftercare you end up using, there are a few standard rules that everyone must adhere to:

    Do:

    • To hasten the healing process, keep them dry at all times.
    • When you wash your face, avoid getting soap in your eyebrows.
    • Always sleep on your back to avoid discomfort.

    Don't:

    • For at least one day, run your fingers over the eyebrows.
    • Use cosmetics or makeup to enhance the eyebrows.
    • Take part in pursuits that will make you sweat
    • Leave the brows out in the sun for long periods.
    • Go for a swim, tan, or sauna session.
    • Pet the region around your eyebrows; it can itch or be picked.
    • Relax and let your hair caress your eyebrows.
    • Soak them.

    Additional Aftercare Suggestions

    Your brows will need ample time to heal after microblading because the procedure includes making incisions in the skin and inserting pigment. Effective recovery requires patience and excellent hygiene. 

    Keep in mind that your skin can respond differently than other people's. Therefore, it's normal to have a rollercoaster of emotions. Colour changes will also be seen while the wound heals, but you shouldn't be worried about them.

    Tips for general aftercare:

    Understanding the Healing Process

    Post-microblading care is crucial due to the procedure's nature of creating incisions in the skin to insert pigment. The healing journey varies from person to person, often involving an emotional rollercoaster and noticeable colour changes in the brows. However, these changes are a normal part of the recovery and should not cause concern. Patience and maintaining excellent hygiene are key to a successful healing process.

    Maintaining Clean Eyebrows

    After undergoing eyebrow microblading, it's common to experience intense redness, sensitivity, swelling, and a bold appearance of the brows. It's vital to keep the treated area dry for the first few hours post-procedure. During the initial week, the brows may darken and flake, tempting one to wash or rub the area. However, it's essential to resist this urge and ensure the area remains clean without disturbing any forming scabs.

    Application of Ointment

    Post-treatment care includes the use of recommended brow ointments by the aesthetician. These ointments not only cover the brows but also aid in keeping the skin moisturised, creating a protective layer that accelerates healing.

    Adjusting Facial Cleaning Routines

    Until the aesthetician approves, it's necessary to modify regular facial hygiene practices. A gentle approach involves using a damp washcloth with mild soap and warm water. Carefully cleanse the face without getting the soap on the eyebrows, and gently pat the skin dry, avoiding the brow area.

    Cleaning Brows Post-Microblading

    Once the scabs have naturally peeled off and the brow hairs have healed, it's generally safe to resume bathing with the eyebrows. Usually, one can return to their standard skincare routine about 12-14 days after the procedure. However, always consult the aesthetician before resuming normal washing practices to ensure proper healing. Enjoy the transformation once the full healing process allows for regular facial cleansing!

    Bathing Considerations

    In the initial days following microblading, it's advisable to avoid regular showering or face washing. For about three to four days, keep the microbladed area away from water to protect the delicate skin. Shortening shower times and avoiding hot showers can help keep the face dry. Utilising visors or specially designed shower shields can be an effective way to prevent water from contacting the brows.

    Understanding and adhering to these aftercare instructions are essential for the longevity and appearance of microbladed eyebrows. It ensures not only the effectiveness of the treatment but also the safety and health of the skin.

    how do i care for my eyebrows after microblading 2

    What To Apply On Brows After Microblading

    Your aesthetician will suggest the products you need for aftercare. The most common ingredients in these ointments are glycerine and panthenol. 

    Additional ingredients include avocado oil, virgin oil from olives, coconut oil, honey, propolis, shea oil, and beeswax. A suitable antibacterial product would be an ointment that contains honey and propolis. 

    Keep in mind that thick coatings of the ointment are not recommended! Spread some ointment thinly across your brow using a Q-tip. 

    Conclusion

    It's important to take care of your eyebrows after microblading to keep their natural beauty and make sure they last a long time. Dry healing comes in two forms: "Do Nothing" and "Dry Healing." For ten days, the brows must be totally dry for dry healing to work. This helps the colour, detail, and crispness of the strokes last longer.

    For the first two to three days, keep the brows clean with fragrance-free baby wipes. Then, follow the directions for aftercare cream and don't spray water on your face when you wash it. Instead of spreading makeup all over your brows, clean them well with a damp paper towel or baby wipes that don't have any scent.

    During the first 30 days after microblading, you should be very careful and not touch your brows with makeup. To keep the end result safe, don't do anything too hard for at least ten days. After ten days, wash your face normally again, making sure to include your eyebrows.

    In the early stages of microblading healing, you may wake up with new brows, notice that they are getting darker, and feel self-conscious about them. Between days 4 and 8, your brows will peel and scab over. This is normal and won't make you feel worse or give you an infection.

    On days 9 and 10, your brows might look off, but don't give up. You can tell if anything needs to be added or changed now that the repair process is almost over. As the pigment in your skin fades, you may notice a few spots. Your follow-up visit is coming up soon.

    To sum up, taking care of your eyebrows after microblading is important to keep their natural beauty and make sure they last a long time.

    As part of the important aftercare process for microblading, the area should be washed and moisturised twice a day, and an aftercare cream should be applied twice a day. It's important to follow the rules, like keeping the area dry, sleeping on your back, not using makeup or cosmetics, letting the eyebrows out in the sun, and not touching the area around the eyebrows.

    After microblading, the brows will need a lot of time to heal. To heal properly, you will need to be patient and keep good hygiene. To take care of yourself after microblading, you need to know how to clean your eyebrows, use the right brow ointments, change how you clean your face, and clean your eyebrows.

    In the first few days, you should avoid taking showers or washing your face often. For three to four days, keep the microbladed area away from water. Cutting down on shower times and staying away from hot showers can help keep the face dry. Using visors or shower screens that are made just for that purpose can also work.

    Following these aftercare steps is very important for keeping your microbladed eyebrows looking good and making sure they last as long as possible. It will also protect and heal your skin. Some of the things your therapist may suggest for aftercare are glycerine, panthenol, avocado oil, virgin olive oil, coconut oil, honey, propolis, shea oil, and beeswax. Do not put on thick layers of the ointment; instead, use a Q-tip to spread it lightly across the brow.

    Content Summary

    • Microblading is a significant step towards achieving well-defined eyebrows.
    • It's crucial to understand the aftercare to preserve the microblading results.
    • Proper care contributes to a smooth healing process and enhances natural beauty.
    • There are different aftercare methods, including dry and moist healing.
    • Wet healing involves gently washing brows with sterile water and applying ointment.
    • Dry healing includes washing brows but without using ointment.
    • "Do Nothing" or "Dry Healing" are often the best approaches for microblading aftercare.
    • Keep eyebrows completely dry for ten days for optimal results.
    • Use fragrance-free baby wipes for initial cleaning.
    • Avoid getting eyebrows wet during hair wash and shower.
    • Don't spray water on your face or apply makeup on your brows initially.
    • The blotting paper helps manage oiliness around the brows.
    • Avoid cosmetics on brows for at least ten days post-treatment.
    • Refrain from strenuous physical activity for ten days after microblading.
    • Resume regular face-washing routine after ten days, including brows.
    • Expect eyebrows to appear darker initially then lighten.
    • Brows may appear swollen, reddish and slightly painful at first.
    • The healing process involves brows peeling and scabbing.
    • It's crucial not to pick or peel the scabs to avoid pigment loss.
    • Brows might look lighter around days 9-10 as they heal.
    • By day 30, the healing process is usually complete.
    • Post-healing, evaluate if any touch-ups are needed.
    • On treatment day, absorb excess lymph fluid with a clean tissue.
    • Wash and moisturise brows for the first seven days.
    • Gently massage the area when cleaning, then pat dry.
    • From day 8-14, continue cleansing the area twice daily.
    • Maintain dryness and avoid soap in brows to speed up healing.
    • Don't touch, use makeup, sweat, expose to sun, or soak brows initially.
    • Be patient and maintain hygiene for effective recovery.
    • Initial redness, sensitivity, and bold appearance are common.
    • Use recommended ointments for moisturisation and protection.
    • Adjust facial cleaning routines, avoiding the brow area.
    • Resume normal washing practices after consulting the aesthetician.
    • Avoid showers and face washes that could wet brows initially.
    • Shower shields can protect brows from water during early recovery.
    • Follow aftercare instructions for long-lasting microblading results.
    • The aesthetician will recommend specific aftercare products.
    • Common ointment ingredients include glycerine, panthenol, and oils.
    • Honey and propolis are effective for antibacterial purposes.
    • Apply a thin layer of ointment with a Q-tip for best results.
    • Avoid thick coatings of ointment on the brows.
    • It's important to avoid infections and promote quick healing.
    • Keep brows as dry as possible for the first few days.
    • Careful cleaning and drying are essential in the initial stages.
    • The healing process can vary from person to person.
    • Emotional changes and colour fluctuations are part of the healing.
    • Consult the aesthetician before resuming regular skincare routines.
    • The aftercare process plays a vital role in the success of microblading.
    • Understanding the healing stages helps manage expectations.
    • The final look of microbladed brows is determined by aftercare adherence.

    Frequently Asked Questions

    Healing time varies, but the initial healing generally takes about 4-6 weeks. However, the complete healing process may take up to 8 weeks.


    Avoid getting your eyebrows wet for 7-10 days after the procedure. This includes avoiding swimming, saunas, and hot tubs.


    Yes, it's normal for the colour to appear darker initially. The colour will fade as the skin heals, and the true colour will emerge after a few weeks.


    It's recommended to avoid applying makeup on the treated area for at least one week to prevent infection and allow proper healing.


    Itching is common as the skin heals, but it's important not to scratch. Gently tap or pat the itchy area to avoid disrupting the healing process.

    Scroll to Top