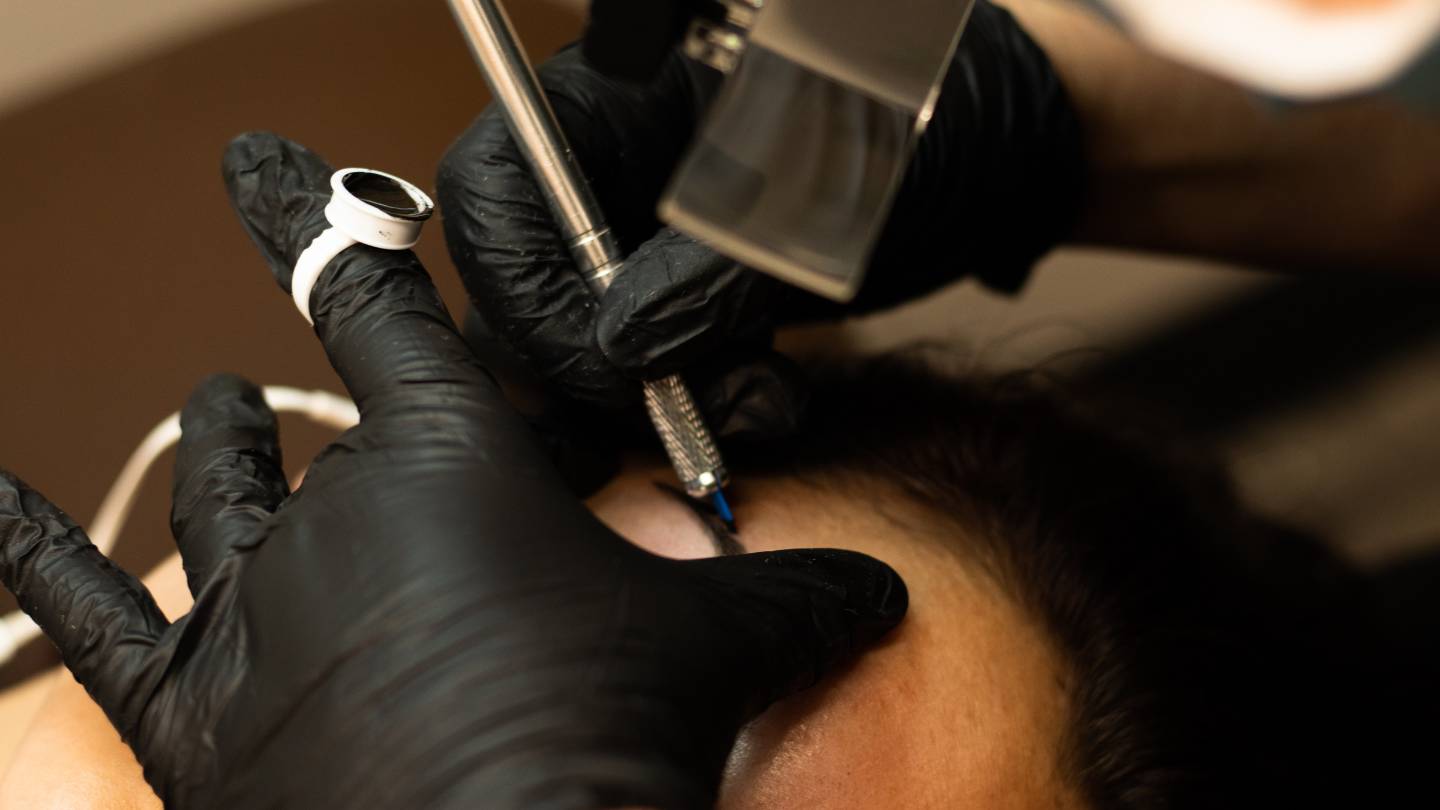
Microblading is a semi-permanent tattooing technique that can give you fuller and more defined eyebrows. To achieve the best results, proper preparation is essential. Whether it’s adjusting your skincare routine or avoiding specific activities, these preparatory steps ensure your skin is ready for the procedure and helps in long-term results. This guide provides a detailed answer to the question: “How should clients prepare for a microblading appointment?”
Let’s get straight to the point
Proper preparation ensures the best results from microblading. Avoid alcohol, caffeine, and blood-thinning medications like ibuprofen before the appointment to prevent excessive bleeding. Stop using skincare products with Retin-A or acids, avoid tanning, and skip brow grooming for at least a week.
Stay away from activities like workouts and facials leading up to the session. Discuss your expectations with your artist and be mindful of health conditions that could affect healing. Aftercare, such as keeping brows dry and avoiding sun exposure, is essential for proper healing and long-lasting results.
1. Avoid Alcohol And Caffeine Before Your Appointment
In the days leading up to your microblading appointment, it’s essential to avoid alcohol and caffeine. These substances thin your blood, which can lead to excessive bleeding during the procedure. Increased bleeding can affect the way your skin absorbs the pigment, potentially leading to uneven results.
- Avoid alcohol for at least 48 hours before your appointment.
- Skip coffee, tea, and other caffeinated drinks on the day of the procedure.
By following these steps, you ensure that the procedure goes smoothly and the pigment is absorbed correctly into the skin.
2. Check Medications That May Affect The Procedure
Some medications can affect the success of your microblading session by thinning your blood, which increases bleeding during the procedure. Excessive bleeding may cause poor pigment retention and an uneven result.
Before your appointment, check the medications you’re taking. Specifically, avoid the following:
- Ibuprofen
- Aspirin
- Niacin
- Fish oil supplements
- Vitamin E
If you need clarification on whether your medication will interfere, consult your doctor or microblading artist. Stopping these medications at least 3-7 days before the procedure can help minimise any complications.
3. Avoid Skincare Products With Retin-A And Acids
Skincare products containing Retin-A or alpha hydroxy acids (AHA) can make your skin more sensitive and thin. This increases the risk of skin damage during the microblading process and may prevent proper healing.
- Stop using Retin-A or any products with AHA at least one month before your appointment.
- Avoid exfoliating treatments, chemical peels, and laser treatments for at least four weeks prior to the procedure.
By giving your skin time to recover from these products, you reduce the risk of irritation and improve your skin’s ability to retain the pigment after microblading.
4. Avoid Tanning And Excessive Sun Exposure
Tanned or sunburnt skin is not ideal for microblading. Exposure to UV rays can make your skin more sensitive, dry, and flaky, leading to uneven healing after the procedure.
- Avoid tanning beds and prolonged sun exposure for at least two weeks before your appointment.
- Protect your skin by applying sunscreen if you’re going to be outdoors.
Healthy skin is essential for achieving optimal results from microblading, so take care to avoid sun damage leading up to your session.
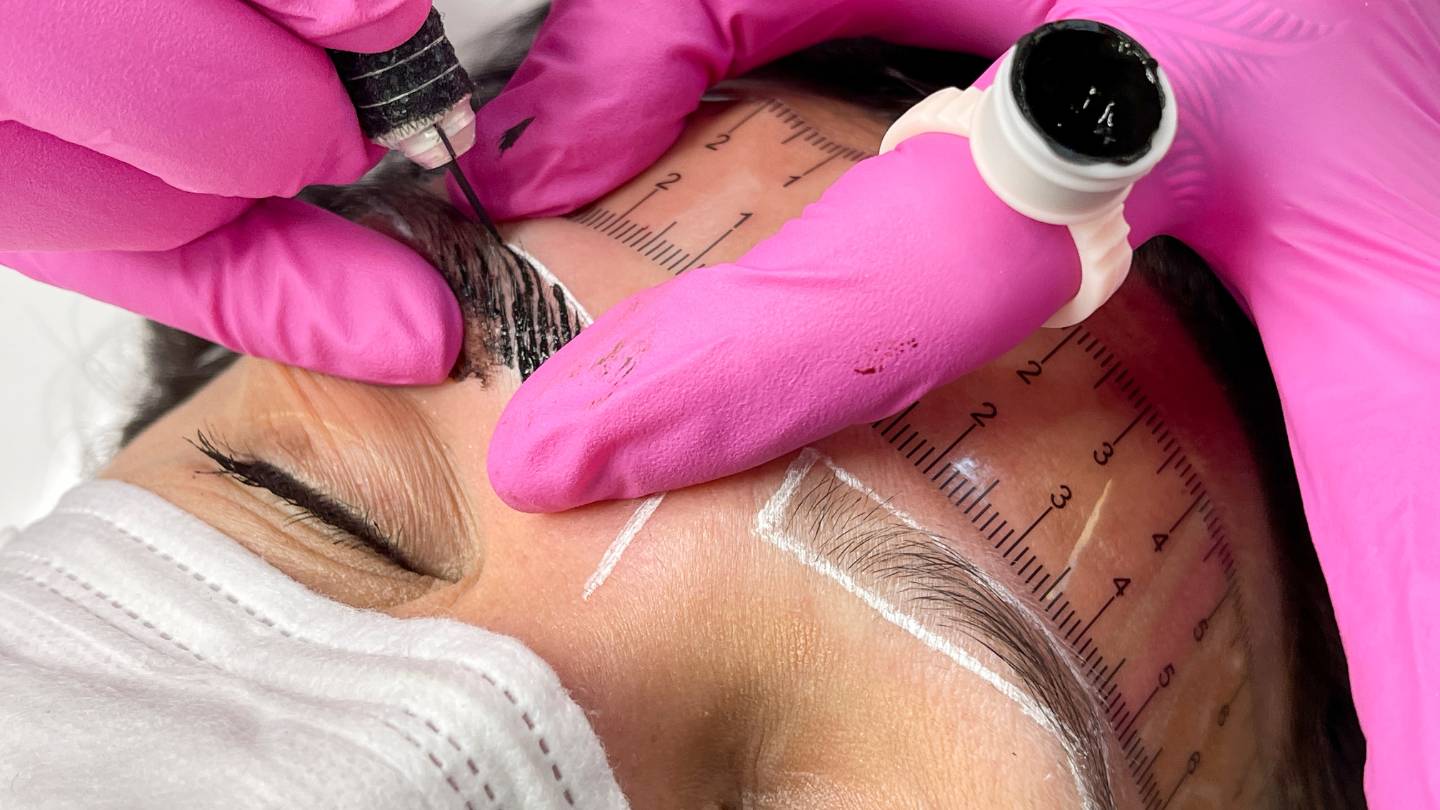
5. Avoid Grooming Your Eyebrows
While it might be tempting to shape your brows before the appointment, it’s important to let your microblading artist work with your natural brow shape. Avoid waxing, plucking, or threading your eyebrows the week before the session.
- Leave your eyebrows untouched for at least seven days before the appointment.
- This gives the artist a better understanding of your natural brow shape, allowing for a more customised and realistic look.
6. Prepare For A Comfortable Experience
Microblading is a detailed process that requires clients to sit still for an extended period. To make the session as comfortable as possible:
- Wear loose, comfortable clothing to help you relax.
- Bring any necessary items like earphones or a book to pass the time.
You’ll need to stay still for around 2 hours, so feeling relaxed and prepared will make the experience smoother and more enjoyable.
7. Be Aware Of Health Conditions That May Affect Healing
If you have any existing health conditions, it’s important to let your microblading artist know. Certain health issues, such as diabetes or bleeding disorders, can affect how your skin heals and how well the pigment is retained.
- Pregnant or breastfeeding clients should consult with their microblading artist beforehand, as some professionals advise against microblading during this time.
Transparency about your health will help your artist adjust the procedure accordingly and give you the best possible results.
8. Avoid Certain Products And Activities Before Your Appointment
Certain activities and products can make your skin more sensitive or disrupt the microblading process. Avoid the following in the lead-up to your appointment:
- Working out or engaging in any activity that causes excessive sweating for 24 hours before your session.
- Facials, peels, or microdermabrasion two weeks before the procedure.
- Botox or filler injections for at least one month prior to your microblading appointment, as they can alter the natural brow position.
9. Set Realistic Expectations With Your Artist
Before your appointment, have a detailed consultation with your artist to discuss your goals. Be honest about what you want to achieve with your eyebrows, but also listen to your artist’s advice based on your skin type and natural brow shape.
- Bring photos or examples to show what you’re hoping to achieve.
- Discuss the shape, thickness, and colour that will work best for you.
Setting clear, realistic goals will ensure you’re happy with the final result and help your artist create the perfect look for you.
10. Avoid Using Eyelash Or Brow Growth Serums
If you’ve been using eyelash or brow growth serums like Latisse, stop applying them three to six months before your microblading session. These products can cause increased sensitivity and lead to excessive bleeding during the procedure.
- Allow enough time for your skin to return to its normal state before microblading to avoid complications.
11. Prepare For Aftercare Instructions
Aftercare is essential for ensuring that your microblading lasts as long as possible and heals correctly. Here are some general aftercare tips to keep in mind:
- Keep the area dry for at least 48 hours after the procedure.
- Avoid activities that cause excessive sweating, such as exercise, saunas, or hot tubs for the first week.
- Avoid picking at scabs that form as the skin heals.
- Use an antibacterial cream as directed by your artist to prevent infection.
- Protect your brows from the sun by applying SPF30 sunscreen after they have healed.
By following these instructions, you help ensure that your brows heal properly and the pigment stays vibrant for longer.
12. Be Patient With The Results
It’s important to remember that the final result of microblading is not immediately visible. After your appointment, the pigment will appear darker and more pronounced than the final healed result.
- Over the first 10-14 days, the brows will gradually fade to their final colour.
- You may need a touch-up appointment 4-6 weeks after the initial session to address any areas where the pigment didn’t absorb fully.
Patience is key, as your brows will go through several stages of healing before the final look is achieved.
13. Bring Important Documents
Finally, don’t forget to bring any important documents or forms required by your microblading artist. This may include medical history forms or consent forms. Ensuring everything is filled out correctly ahead of time will help your appointment run smoothly and avoid any unnecessary delays.
Conclusion
Preparing properly for a microblading appointment is essential for achieving the best results. Avoid alcohol and caffeine, review your medications, and take care of your skincare routine to ensure your skin is in the best condition for the procedure. Avoid sun exposure, stop using brow grooming techniques, and be aware of health conditions that may affect the healing process.
Setting realistic expectations with your artist and being diligent with aftercare will ensure that your brows heal beautifully and maintain their appearance. By following these preparatory steps, you’ll be on your way to achieving the perfect brows with a smooth, enjoyable experience.
FAQs About Microblading Appointment
How Should I Prepare For My Microblading Appointment?
- Avoid alcohol and blood-thinning medications for at least 24 hours before the appointment.
- Do not consume caffeine on the day of the appointment.
- Avoid direct sun exposure and tanning beds for at least a week prior.
Can I Wear Makeup To My Appointment?
It’s best to come with a clean face, free from makeup. The artist must see your natural brow shape and colour for the best results.
Should I Shape My Eyebrows Before The Appointment?
It’s advisable to wait to shape your eyebrows in advance. The microblading artist will assess and work with your natural brow shape to achieve the desired look.
Can I Bring Pictures Of The Brows I Want?
Yes, bringing reference pictures can be helpful. It gives the artist an idea of your preferences, but it’s essential to have realistic expectations based on your natural features.
How Long Does The Microblading Procedure Take?
The appointment typically lasts 2 to 3 hours, including consultation, numbing, and the procedure.
