When considering a cosmetic procedure such as an ombre eyebrow tattoo, one of the first questions that comes to mind is, “How long will it take for my eyebrows to heal?” This is a crucial concern for anyone looking to enhance their brows’ appearance with this increasingly popular semi-permanent makeup technique. The healing process is essential for achieving the desired aesthetic outcome and ensuring your skin’s health and safety. In this blog, we’ll delve into the intricacies of the ombre eyebrow tattoo procedure. We will explore what you can expect during the healing phase, factors influencing the healing time, and tips to ensure a smooth and efficient recovery. Whether you’re contemplating getting an ombre tattoo or are in the midst of your healing journey, this guide aims to provide valuable insights to help you achieve beautifully healed, perfectly defined eyebrows.
The Healing Process: A Timeline
The journey to fully healed ombre powder brows is a process that unfolds over several weeks, involving various stages of healing and care. Drawing insights from multiple sources, here’s a comprehensive timeline detailing what to expect during the healing process of an ombre eyebrow tattoo.
Initial Days (Day 1-3)
Immediate Aftercare: After the procedure, the eyebrows will appear significantly darker and more defined than the outcome. This is normal due to the fresh pigment and minor swelling. It’s crucial to start aftercare immediately, following the specific instructions provided by your artist, which usually includes gently cleaning the area and applying a recommended aftercare product to promote healing and prevent infection.
Avoid Water and Sweat: Keep the brows dry and avoid activities that induce sweating to prevent the risk of infection and ensure pigment retention.
First Week (Day 4-7)
Scabbing Begins: Around days 4 to 7, you’ll notice the start of the scabbing process. The area may feel itchy, but it’s important not to scratch or pick at the scabs to avoid losing pigment and causing scars.
Appearance: The brows might still appear darker than expected, but you’ll start to see the initial lightening as the healing process progresses.
Second Week (Day 8-14)
Scabbing Continues and Flaking: During this period, scabbing will continue, and you might notice flaking. This is part of the natural healing process where the body is shedding dead skin cells and excess pigment.
Colour Fading: As the scabs fall off naturally, the pigment underneath may look lighter, and the brows appear patchy. This is a normal part of the healing process, and the actual colour will emerge gradually.
Third To Fourth Week (Day 15-30)
Colour Settling: The most intense part of the healing process is over. The colour will continue to settle and adjust to its final shade. It’s normal for the brows to undergo slight changes in colour and definition during this time.
Touch-Up Preparation: This period is crucial for assessing the need for touch-ups, as the brows are nearing complete healing and the final results are becoming apparent.
After One Month (Day 30+)
Final Healing: At this stage, the brows are considered fully healed. The colour has settled, and any patchiness or unevenness should have been addressed during the touch-up session, typically six weeks after the initial procedure.
Long-Term Care: To maintain the results and ensure the longevity of your ombre powder brows, follow any long-term care advice from your artist. This includes protecting the brows from excessive sun exposure and avoiding skincare products that may affect the pigment.
Factors Influencing Healing Times
The healing process for ombre brows, a popular semi-permanent makeup technique, varies from person to person. Several factors influence the speed and quality of healing after getting ombre powder brows. Understanding these factors can help set realistic expectations and ensure the best possible outcome for your brows.
Skin Type And Condition
- Oily Skin: Individuals with oily skin may find that their ombre brows fade faster than those with dry or normal skin types. The excess oil production can cause the pigment to blur, leading to a less defined look over time.
- Mature Skin: As skin ages, it tends to lose collagen and elasticity, affecting how well it retains pigment. Mature skin may also heal more slowly, requiring a gentler approach and possibly more frequent touch-ups during the pigmentation process.
- Skin Health: Healthy skin typically heals faster and holds pigment better. Pre-existing skin conditions, like eczema or rosacea, can affect the healing process and the final appearance of the brows.
Aftercare Practices
Proper aftercare is crucial for the healing and longevity of ombre brows. Following the aftercare instructions provided by your technician, such as keeping the area clean and avoiding certain products, can significantly influence the healing process and final results.
Lifestyle Factors
- Diet and Hydration: A healthy diet rich in vitamins and minerals supports skin health and improves healing. Proper hydration is also essential for maintaining skin elasticity and aiding in recovery.
- Smoking can impede the healing process by restricting blood flow to the skin, potentially leading to longer healing times and less vibrant results.
- Physical Activity: Excessive sweating from vigorous exercise can affect the healing of ombre brows by introducing bacteria to the area and causing the pigment to fade more quickly.
- Sun Exposure: UV rays can fade the pigment faster and affect healing. Avoiding direct sun exposure and using a high-SPF sunscreen to protect the brows once they’ve healed is recommended.
Environmental Factors
The environment where you live can play a role in the healing of your ombre brows. High humidity, pollution, and exposure to dust and dirt can affect the healing process and how the pigment settles in the skin.
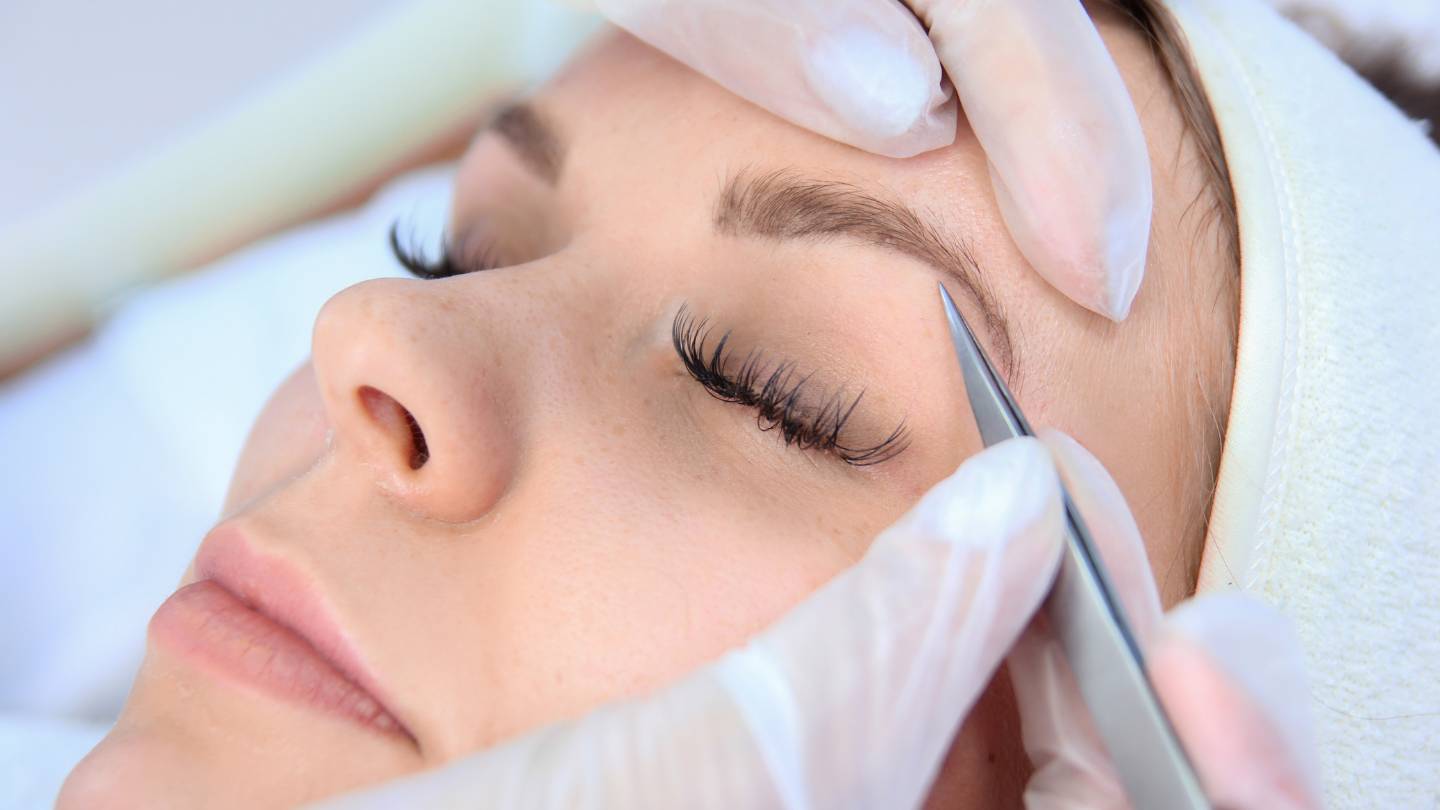
Technician Skill And Technique
The experience and technique of the technician performing the ombre brow procedure can significantly influence the healing process and longevity of the results. A skilled technician will ensure the pigment is applied at the correct depth and with the proper technique for your skin type, reducing the risk of complications and promoting even, lasting results.
Aftercare Tips For Optimal Healing
Proper aftercare is crucial for the healing and longevity of ombre eyebrow tattoos. Here’s a comprehensive guide based on insights from various experts in the field:
Immediate Aftercare
- First Hour Post-Procedure: Gently blot your brows every 5 minutes with a clean tissue to remove excess lymph fluid. This prevents the formation of thick scabs.
- First Day: Keep the area clean and avoid touching your brows. Expect them to appear darker and more intense initially; this is normal.
- Cleaning: Wash your brows gently twice a day with a mild, fragrance-free cleanser. Pat dry carefully and apply a thin layer of the recommended ointment.
- Ointment Application: Apply a prescribed ointment to keep the area moist, aiding in healing. Use only a thin layer to allow the skin to breathe.
Healing Process
- Days 1-3: Swelling and redness are normal. The colour will appear very dark.
- Days 4-7: Scabbing and flaking begin. It’s crucial not to pick or scratch the brows.
- Days 7-14: Continue to keep the area clean and moisturised. The colour will start to lighten and may appear lighter than expected.
- After Day 14: The healing process is mostly complete. The actual colour will start to emerge.
Do’s And Don’ts
- Do Not Touch: Avoid touching, scratching, or rubbing the brows to prevent infection and pigment loss.
- Avoid Water and Sweat: Keep the brows dry and avoid activities that cause excessive sweating for at least the first week.
- No Makeup: Do not apply makeup on or around the brows until fully healed.
- Sun Protection: Avoid direct sun exposure. Once healed, apply sunscreen to prevent fading.
- Avoid Certain Activities: Steer clear of swimming, saunas, and any activity that might introduce bacteria to the healing brows.
Lifestyle Adjustments
- Exercise: Limit physical activities that might cause sweating and affect healing.
- Sleeping Position: Try to sleep on your back to avoid putting pressure on your brows.
- Skincare Products: Post-healing, avoid using products containing exfoliants or acids near the brows to prevent fading.
Touch-Ups
- Scheduling: A touch-up session is usually required 4-8 weeks after the initial procedure to correct any imperfections and ensure the colour is even and lasts longer.
FAQs About Ombre Tattoos
How Long Does The Entire Healing Process Take For Ombre Eyebrow Tattoos?
The healing process for ombre eyebrow tattoos typically takes about 4 to 6 weeks. However, individual healing times can vary based on skin type, age, and adherence to aftercare instructions.
What Are The Initial Signs Of Healing I Should Expect?
Initially, you can expect the eyebrows to appear darker and more defined than the outcome. This is normal and part of the healing process. Swelling and redness may also occur but should subside within a few days.
When Does The Scabbing And Flaking Stage Occur?
Scabbing and flaking usually begin around the end of the first week and can continue into the second week. It’s crucial to avoid picking or scratching the scabs to ensure proper healing and pigment retention.
Will My Eyebrows Look Patchy During The Healing Process?
Yes, it’s common for the eyebrows to appear patchy or lighter in some areas during the healing process, especially after the scabbing stage. This is temporary and should improve as the healing progresses.
How Can I Ensure The Best Healing Results?
Following your technician’s aftercare instructions closely ensures the best healing results. This includes keeping the area clean, avoiding water and sweat, applying prescribed ointments, and avoiding direct sun exposure.
Common Concerns And How To Address Them
Several common concerns can arise before and after the procedure regarding ombre powder brows. Understanding these concerns and how to address them can significantly enhance the experience and outcome of your ombre brow treatment. Here’s a comprehensive guide based on insights from various experts in the field:
Concern: Ombre Brows Too Dark Or Uneven
Solution: Initially, ombre brows may appear darker than expected; this is normal and part of the healing process. They are designed to fade up to 40% during healing. If they remain too dark or are uneven, a touch-up session after 6-8 weeks, once fully healed, can correct these imperfections.
Concern: Botched Brows
Solution: Professional removal is the recommended course of action in cases where the brows are significantly botched. Options include saline or glycolic acid removal within the first 48 hours or laser removal after the healing period. Multiple sessions may be required for complete removal.
Concern: Brows Healed Patchy Or Disappeared After Scabbing
Solution: Patchiness or the appearance of faded brows after scabbing is common and often addressed in the touch-up session. This session is crucial for fixing imperfections and achieving the desired density and colour.
Concern: Pigment Color Changes
Solution: If the pigment turns an unwanted colour, a colour correction session can help. This issue often stems from the pigments’ quality, so ensure your artist uses high-quality inks.
Concern: Infection and Scarring
Solution: Infections are rare but can be avoided by choosing a reputable artist and following aftercare instructions meticulously. If an infection occurs, consult a healthcare provider immediately. Scarring can result from improper technique or aftercare; choosing an experienced artist is crucial to prevent this.
Concern: Fading Too Soon
Solution: Premature fading can result from several factors, including skin type, lifestyle, and aftercare compliance. More frequent touch-ups may be necessary for those with oily skin or regularly exposed to sun and water.
Before And Aftercare Tips
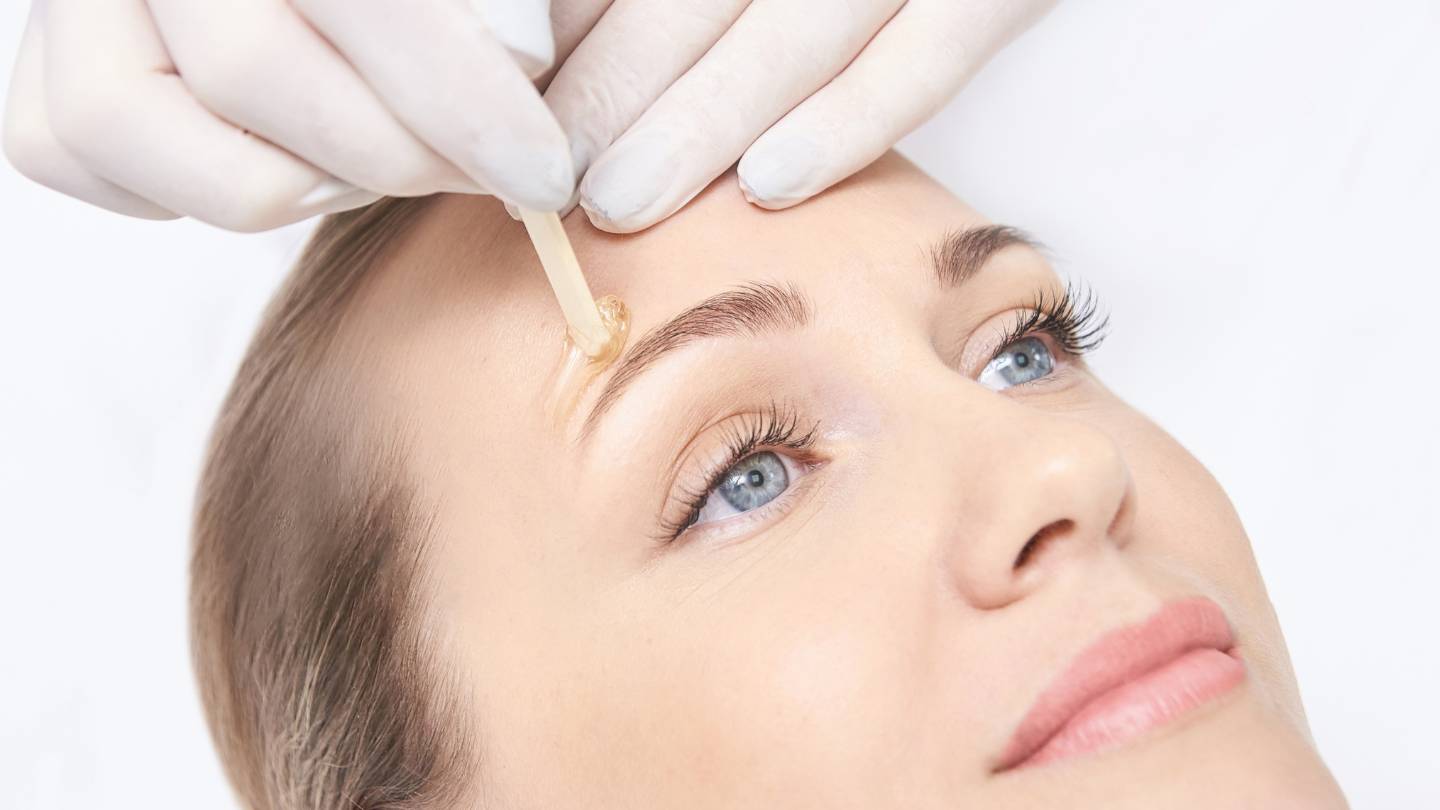
Before: Avoid stimulants, blood thinners, and any facial treatments, including waxing, tanning, or anti-aging treatments, for a specified period before your appointment.
After: Keep the brows dry for at least 24 hours post-procedure, avoid touching or scratching, and apply recommended aftercare products. Avoid direct sunlight and activities that cause excessive sweating for the first two weeks.
Healing Process
The healing process involves several stages, from immediate post-application care to the emergence of the final colour and shape over several weeks. Following the provided aftercare instructions is essential for a smooth healing process and optimal results.
Professional Consultation
Consulting with a professional tattoo artist is recommended to assess your needs and provide personalised advice. This ensures you are a suitable candidate for the procedure and helps set realistic expectations.
Conclusion
The healing process for ombre eyebrow tattoos is a complex and time-consuming process that involves several stages. The initial days are marked by immediate aftercare, followed by scabbing and flaking, which may cause the brows to appear darker and more defined than expected. The second week sees scabbing and flaking, with pigment appearing lighter and patchy. The third to fourth weeks see the colour setting and adjustment, with slight changes in colour and definition. Touch-up preparation is crucial for assessing the need for touch-ups.
Factors influencing healing times include skin type and condition, age, skin health, and lifestyle factors. Oily skin may fade faster than dry or normal skin types, while mature skin may heal more slowly due to loss of collagen and elasticity. Healthy skin typically heals faster and holds pigment better. Proper aftercare practices, such as keeping the area clean and avoiding certain products, can significantly influence the healing process and final results. Lifestyle factors like diet, hydration, smoking, physical activity, and sun exposure can also affect healing. Environmental factors like high humidity, pollution, and dust exposure can also impact healing.
In conclusion, the healing process for ombre eyebrow tattoos is complex and time-consuming, requiring careful attention and care. By following the guidelines provided by your artist and following long-term care advice, you can achieve beautifully healed, perfectly defined eyebrows.
The ombre brow procedure involves a skilled technician applying pigment at the correct depth and technique for the skin type, reducing the risk of complications and promoting even, lasting results. Proper aftercare is crucial for the healing and longevity of ombre eyebrow tattoos. Aftercare tips include immediate aftercare, such as blotting the brows every 5 minutes, keeping the area clean and avoiding touching the brows, and applying a prescribed ointment to keep the area moist.
The healing process takes 1-3 days, with swelling and redness, scabs and flaking, and lightening and lightening. Do not touch, avoid water and sweat, avoid makeup, and avoid direct sun exposure. Lifestyle adjustments include limiting physical activities, sleeping on your back, and avoiding products containing exfoliants or acids near the brows. Touch-ups are usually required 4-8 weeks after the initial procedure to correct any imperfections and ensure the colour is even and lasts longer.
Common concerns about ombre brows include:
- Dark or uneven brows.
- Botched brows.
- Patchy or faded brows after scabbing.
- Pigment color changes.
- Infection and scarring.
- Premature fading.
Before and aftercare tips include avoiding stimulants, blood thinners, and facial treatments, keeping the brows dry for at least 24 hours, and following aftercare instructions.
Consulting with a professional tattoo artist is recommended to assess your needs and provide personalised advice, ensuring you are a suitable candidate for the procedure and setting realistic expectations.
Content Summary
- The healing process for ombre eyebrow tattoos is intricate and lengthy, involving multiple stages.
- Initially, immediate aftercare is crucial, followed by a period of scabbing and flaking.
- The brows may appear darker and more defined than anticipated during the initial days.
- The second week involves continued scabbing and flaking, with the pigment starting to appear lighter and patchy.
- By the third to fourth week, the colour begins to set and adjust, showing slight changes in colour and definition.
- Preparing for a touch-up is essential to address any need for corrections.
- Various factors influence the healing times, including skin type and condition, age, and overall skin health.
- Oily skin types may experience faster fading compared to dry or normal skin types.
- Mature skin may heal slower due to decreased collagen and elasticity.
- Healthy skin generally heals quicker and retains pigment more effectively.
- Proper aftercare practices play a significant role in the healing process and outcome.
- Lifestyle factors such as diet, hydration, smoking, and physical activity impact the healing duration.
- Environmental elements like humidity, pollution, and dust can also affect healing.
- Achieving beautifully healed, perfectly defined eyebrows requires diligent care and attention.
- The ombre brow procedure demands precision from a skilled technician to minimise complications.
- Immediate aftercare is vital, including blotting the brows and keeping the area clean.
- The healing timeline spans 1-3 days, encompassing swelling, redness, scabbing, flaking, and eventual lightening.
- Essential aftercare instructions include avoiding water, sweat, makeup, and direct sunlight.
- Lifestyle adjustments, such as limiting exercise and sleeping positions, contribute to the healing process.
- Touch-ups, typically needed 4-8 weeks post-procedure, ensure even colour and longevity.
- Common concerns include uneven colour, botched procedures, and patchiness.
- Addressing concerns like pigment colour changes, infection, scarring, and premature fading is crucial.
- Before the procedure, avoiding stimulants, blood thinners, and facial treatments is advised.
- Keeping the brows dry for the first 24 hours post-procedure is essential.
- Following the artist’s aftercare instructions is vital to successful healing.
- Consulting with a professional tattoo artist ensures personalised advice and realistic expectations.
- The technician’s skill and technique are critical for reducing risks and achieving lasting results.
- Proper aftercare, including applying prescribed ointments, supports the healing process.
- The healing stages include initial darkness, scabbing, flaking, and the final colour emergence.
- Understanding the healing process helps manage expectations and reduce stress.
- The body’s natural healing involves scab formation and pigment settling.
- Aftercare products, such as ointments, play a role in moisturising and protecting the brows.
- The choice between wet and dry healing depends on the individual’s skin type and the artist’s recommendation.
- The emotional rollercoaster during healing is standard, with periods of doubt and satisfaction.
- The outcome relies on following aftercare instructions and attending touch-up sessions.
- Environmental and lifestyle factors necessitate adjustments to protect the healing brows.
- The healing process is a testament to the body’s ability to recover and adapt.
- Achieving the desired eyebrow look involves patience and compliance with aftercare protocols.
- Visible changes and the need for meticulous care mark the journey to healed ombre brows.
- The healing timeline provides a roadmap for what to expect during recovery.
- Each healing stage brings the brows closer to the anticipated final appearance.
- The importance of aftercare must be balanced with specific guidelines for optimal results.
- Touch-up appointments are integral to the process, allowing for adjustments and enhancements.
- The healing experience varies among individuals and is influenced by personal and environmental factors.
- The commitment to aftercare and touch-ups ensures the longevity and beauty of ombre brows.
- Professional guidance and expertise are invaluable for navigating the healing process.
- The transformation through healing stages underscores the transformative power of ombre eyebrow tattoos.
- The detailed healing timeline equips individuals with knowledge and expectations for their brow journey.
- The collaborative effort between the client and technician is crucial for achieving the best outcomes.
- Ultimately, the healing process culminates in beautifully healed, perfectly defined ombre eyebrows, reflecting careful planning and care.
