Achieving flawless ombre eyebrows can feel like a rewarding investment, but it’s essential to know how to care for them properly to ensure they heal beautifully and last as long as possible. Whether you’re fresh out of your appointment or just curious about the healing process, this guide offers clear, actionable steps to help you navigate aftercare.
From keeping your brows dry to managing itchiness and avoiding common pitfalls, these tips will have your brows looking their best in no time. Let’s get started on ensuring your new look stays stunning and long-lasting.
Let’s get straight to the point
To heal ombre eyebrows quickly and effectively, follow these key steps: Stick to your artist’s aftercare instructions meticulously, keep the brows dry for the first 10 days, and avoid sweating or sun exposure.
Apply aftercare ointment sparingly, and avoid scratching or picking at the scabs. Steer clear of makeup and harsh skincare products around the area for 10-14 days. For long-term care, use sunscreen, avoid exfoliating near the brows, and schedule regular touch-ups every 12–18 months to maintain vibrant results.
Follow Aftercare Instructions
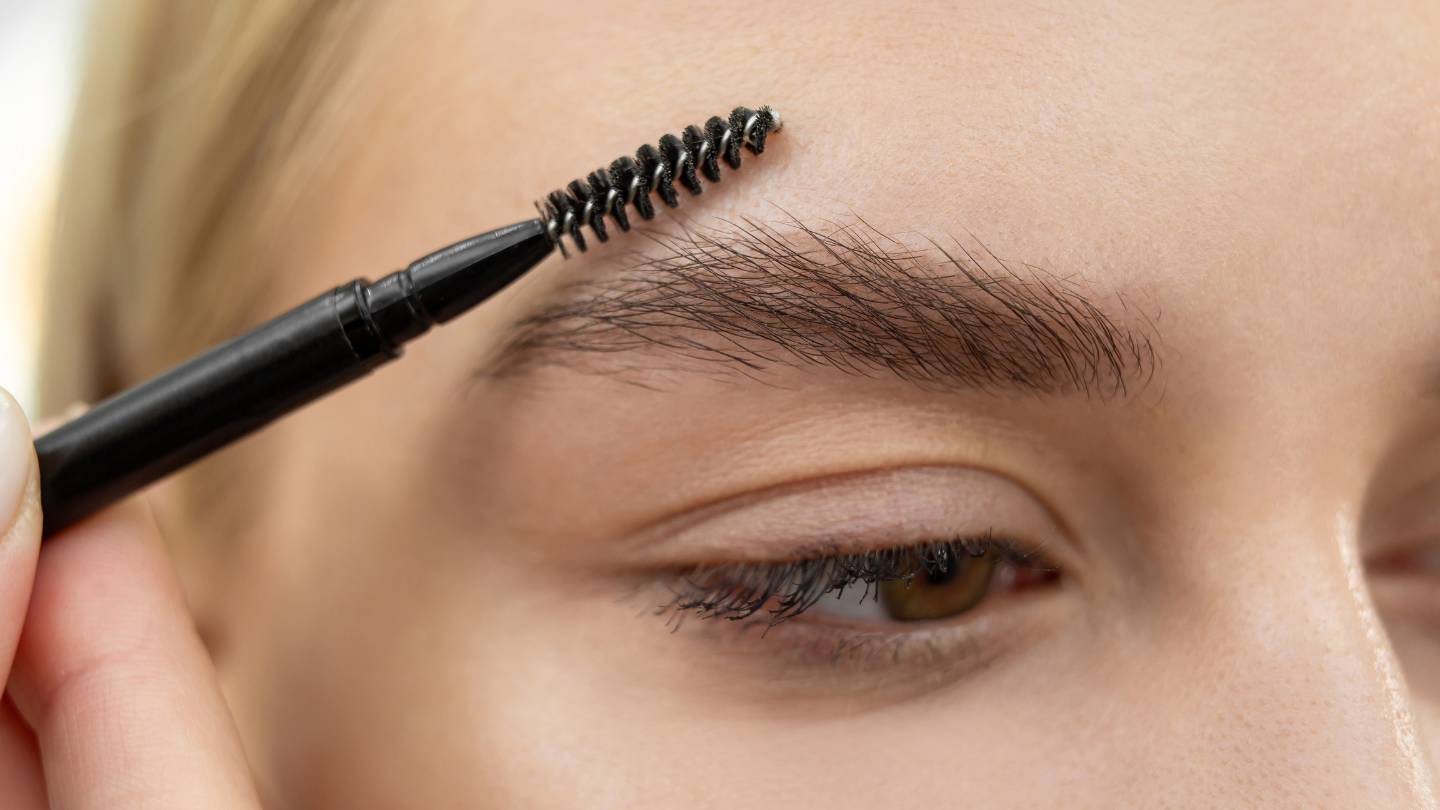
The most essential factor in speeding up the healing process is following your artist’s aftercare instructions to the letter. Each artist may recommend specific products or methods based on your skin type and the technique used. Some general guidelines include:
- Keep the brows dry for at least the first 10 days.
- Apply the recommended aftercare ointment twice a day to keep the area moisturised.
- Clean the area gently using a cotton pad with a mild cleanser, avoiding direct water contact.
Strictly adhering to these instructions will prevent complications such as infections or uneven healing, which can prolong recovery.
Keep Your Brows Dry
Water exposure is one of the biggest factors that can slow down the healing of ombre brows. To ensure the fastest recovery:
- Avoid direct water contact when washing your face. Use a cotton pad or cloth to clean around the brow area.
- Take baths instead of showers to reduce the risk of getting your brows wet.
- Avoid steam rooms, saunas, or swimming for at least two weeks, as moisture can cause scabs to soften prematurely.
Keeping your brows dry allows the pigment to settle properly, leading to faster and more consistent healing.
Avoid Sweating And Exercise
Sweat contains salt, which can interfere with the healing process by causing irritation or fading of the pigment. During the first week after your ombre eyebrow procedure:
- Avoid intense physical activities such as gym workouts, running, or hot yoga.
- Stay in a cool environment to reduce the likelihood of sweating.
If sweating is unavoidable, gently blot the area with a clean tissue to remove moisture and reapply the aftercare ointment as instructed by your artist.
Minimise Sun Exposure
Sun exposure can fade the pigment during the healing process, leading to uneven results. Protect your brows by:
- Wearing a hat when outdoors to shield your face from direct sunlight.
- After the initial healing phase (7–14 days), apply a high-SPF sunscreen to your brows before going outside to prevent premature fading.
Sun protection is essential even after the healing process is complete, as UV rays can gradually affect the pigment over time.
Moisturise Sparingly
While keeping the skin moisturised is essential, over-moisturising can actually slow down healing. Apply a thin layer of ointment as recommended by your technician. Here’s how to do it:
- Gently pat a small amount of aftercare cream or ointment on the brows twice daily using clean hands.
- Avoid using heavy creams or oils that can clog the pores and suffocate the skin.
Allow the skin to breathe while providing enough moisture to prevent excessive drying and flaking.
Daily Aftercare Routine
To heal ombre brows quickly, you should follow a consistent daily routine. This routine will help maintain the cleanliness of the area while promoting faster recovery.
1. Morning Routine
- Cleanse Gently
Use a mild, unscented cleanser on a cotton pad to clean around the brows. Avoid rubbing or scrubbing the area directly. - Apply Ointment
After cleansing, apply a thin layer of the prescribed aftercare ointment. This helps protect the area and keeps it hydrated.
2. Evening Routine
- Repeat Cleansing
Gently cleanse the area again in the evening using a cotton pad and the recommended cleanser. - Reapply Ointment
Just before bed, apply another thin layer of ointment to ensure the skin stays moisturised overnight.
Following this simple yet effective routine will promote faster healing without disturbing the scabs or pigment.
What To Avoid During The Healing Process
Healing ombre brows quickly requires avoiding certain activities and products that could prolong recovery or negatively impact the final results.
1. Avoid Picking Or Scratching
It’s normal for the brows to itch as they heal, but scratching or picking at the area can lead to scarring, infection, or uneven pigment distribution. If you feel the urge to scratch:
- Gently tap the area with a clean finger to relieve itching.
- Ensure your hands are always clean before touching the area to avoid introducing bacteria.
Let the scabs fall off naturally to ensure smooth, even healing.
2. Avoid Makeup And Skincare Products
For the first 10–14 days, avoid applying makeup or skincare products directly on or near the brows. This includes:
- Foundation, powders, or concealers that may clog pores or introduce bacteria.
- Skincare products with harsh chemicals like retinoids, glycolic acid, or alcohol, which can irritate the skin and interfere with pigment retention.
Using gentle, fragrance-free products around the brows will prevent irritation and help the area heal faster.
3. Stay Away From Harsh Environments
During the healing process, it’s essential to avoid:
- Hot showers or baths that generate steam, as can soften the scabs and cause premature peeling.
- Dusty or dirty environments where the skin may be exposed to irritants or bacteria.
If possible, limit exposure to environments that can slow down the healing process or increase the risk of infection.
Long-Term Care For Faster Healing
Even after the initial healing stage, taking care of your ombre brows will ensure long-term results and minimise the need for early touch-ups.
1. Use Sun Protection
Once your brows have fully healed, incorporate sun protection into your daily skincare routine:
- Apply a high-SPF sunscreen to your brows when outdoors to protect against UV rays.
- Continue wearing a hat for extra protection, especially during prolonged exposure.
Long-term sun protection prevents fading and ensures your brows stay vibrant for longer.
2. Avoid Exfoliating The Brow Area
Exfoliating products such as scrubs or acids can lighten the pigment over time. Be mindful when using these products around your brows:
- Avoid exfoliating directly on the brow area.
- Use gentle cleansers around the brows to maintain their appearance without affecting the pigment.
3. Schedule Regular Touch-Ups
To keep your ombre brows looking their best, schedule touch-ups as recommended by your artist. Typically, a touch-up is done every 12–18 months to refresh the colour and shape.
Touch-ups help to correct any fading or changes in the brows, ensuring they remain defined and natural-looking.
Conclusion
Proper aftercare is essential for ensuring your ombre eyebrows heal quickly and look their best. By following your artist’s instructions, keeping the area dry, and avoiding activities that could disrupt healing, you’ll not only speed up recovery but also maintain the vibrancy and longevity of your brows.
Be patient, avoid scratching, and protect your brows from sun exposure. With a consistent routine and ongoing care, your ombre brows will stay stunning for months to come. For long-term success, incorporate sun protection, avoid harsh products, and schedule regular touch-ups as needed.
FAQs About Ombre Eyebrows Tattoo
How Can I Speed Up The Healing Process?
To speed up the healing process, follow a proper aftercare routine, including gentle cleansing, applying recommended ointments, avoiding direct water and sun exposure, and not picking at scabs or scratching the area.
Can Sweating Affect My Healing Ombre Eyebrows Tattoo?
Yes, sweating can introduce salt and bacteria to the healing area, which may irritate the skin and lead to infections. For the first 72 hours, it’s advised to avoid exercises and activities that cause excessive sweating.
How Long Does It Take For An Ombre Eyebrow Tattoo To Heal Fully?
The complete healing process can take up to 4-6 weeks, during which the pigment settles fully into the skin and the colour stabilises.
What Is The Long-Term Care For An Ombre Eyebrow Tattoo?
Once healed, protect your brows from excessive sun exposure to maintain pigment colour. Regular touch-ups may be required to keep your brows looking their best.
Is It Normal For My Eyebrows To Look Too Light Or Even Grey At Some Stage During The Healing Process?
Yes, it’s normal for the colour to appear too light or even grey at stages during the healing process. This is temporary, and the colour will gradually darken to its final hue.
